TwikFit Manual
Log in page
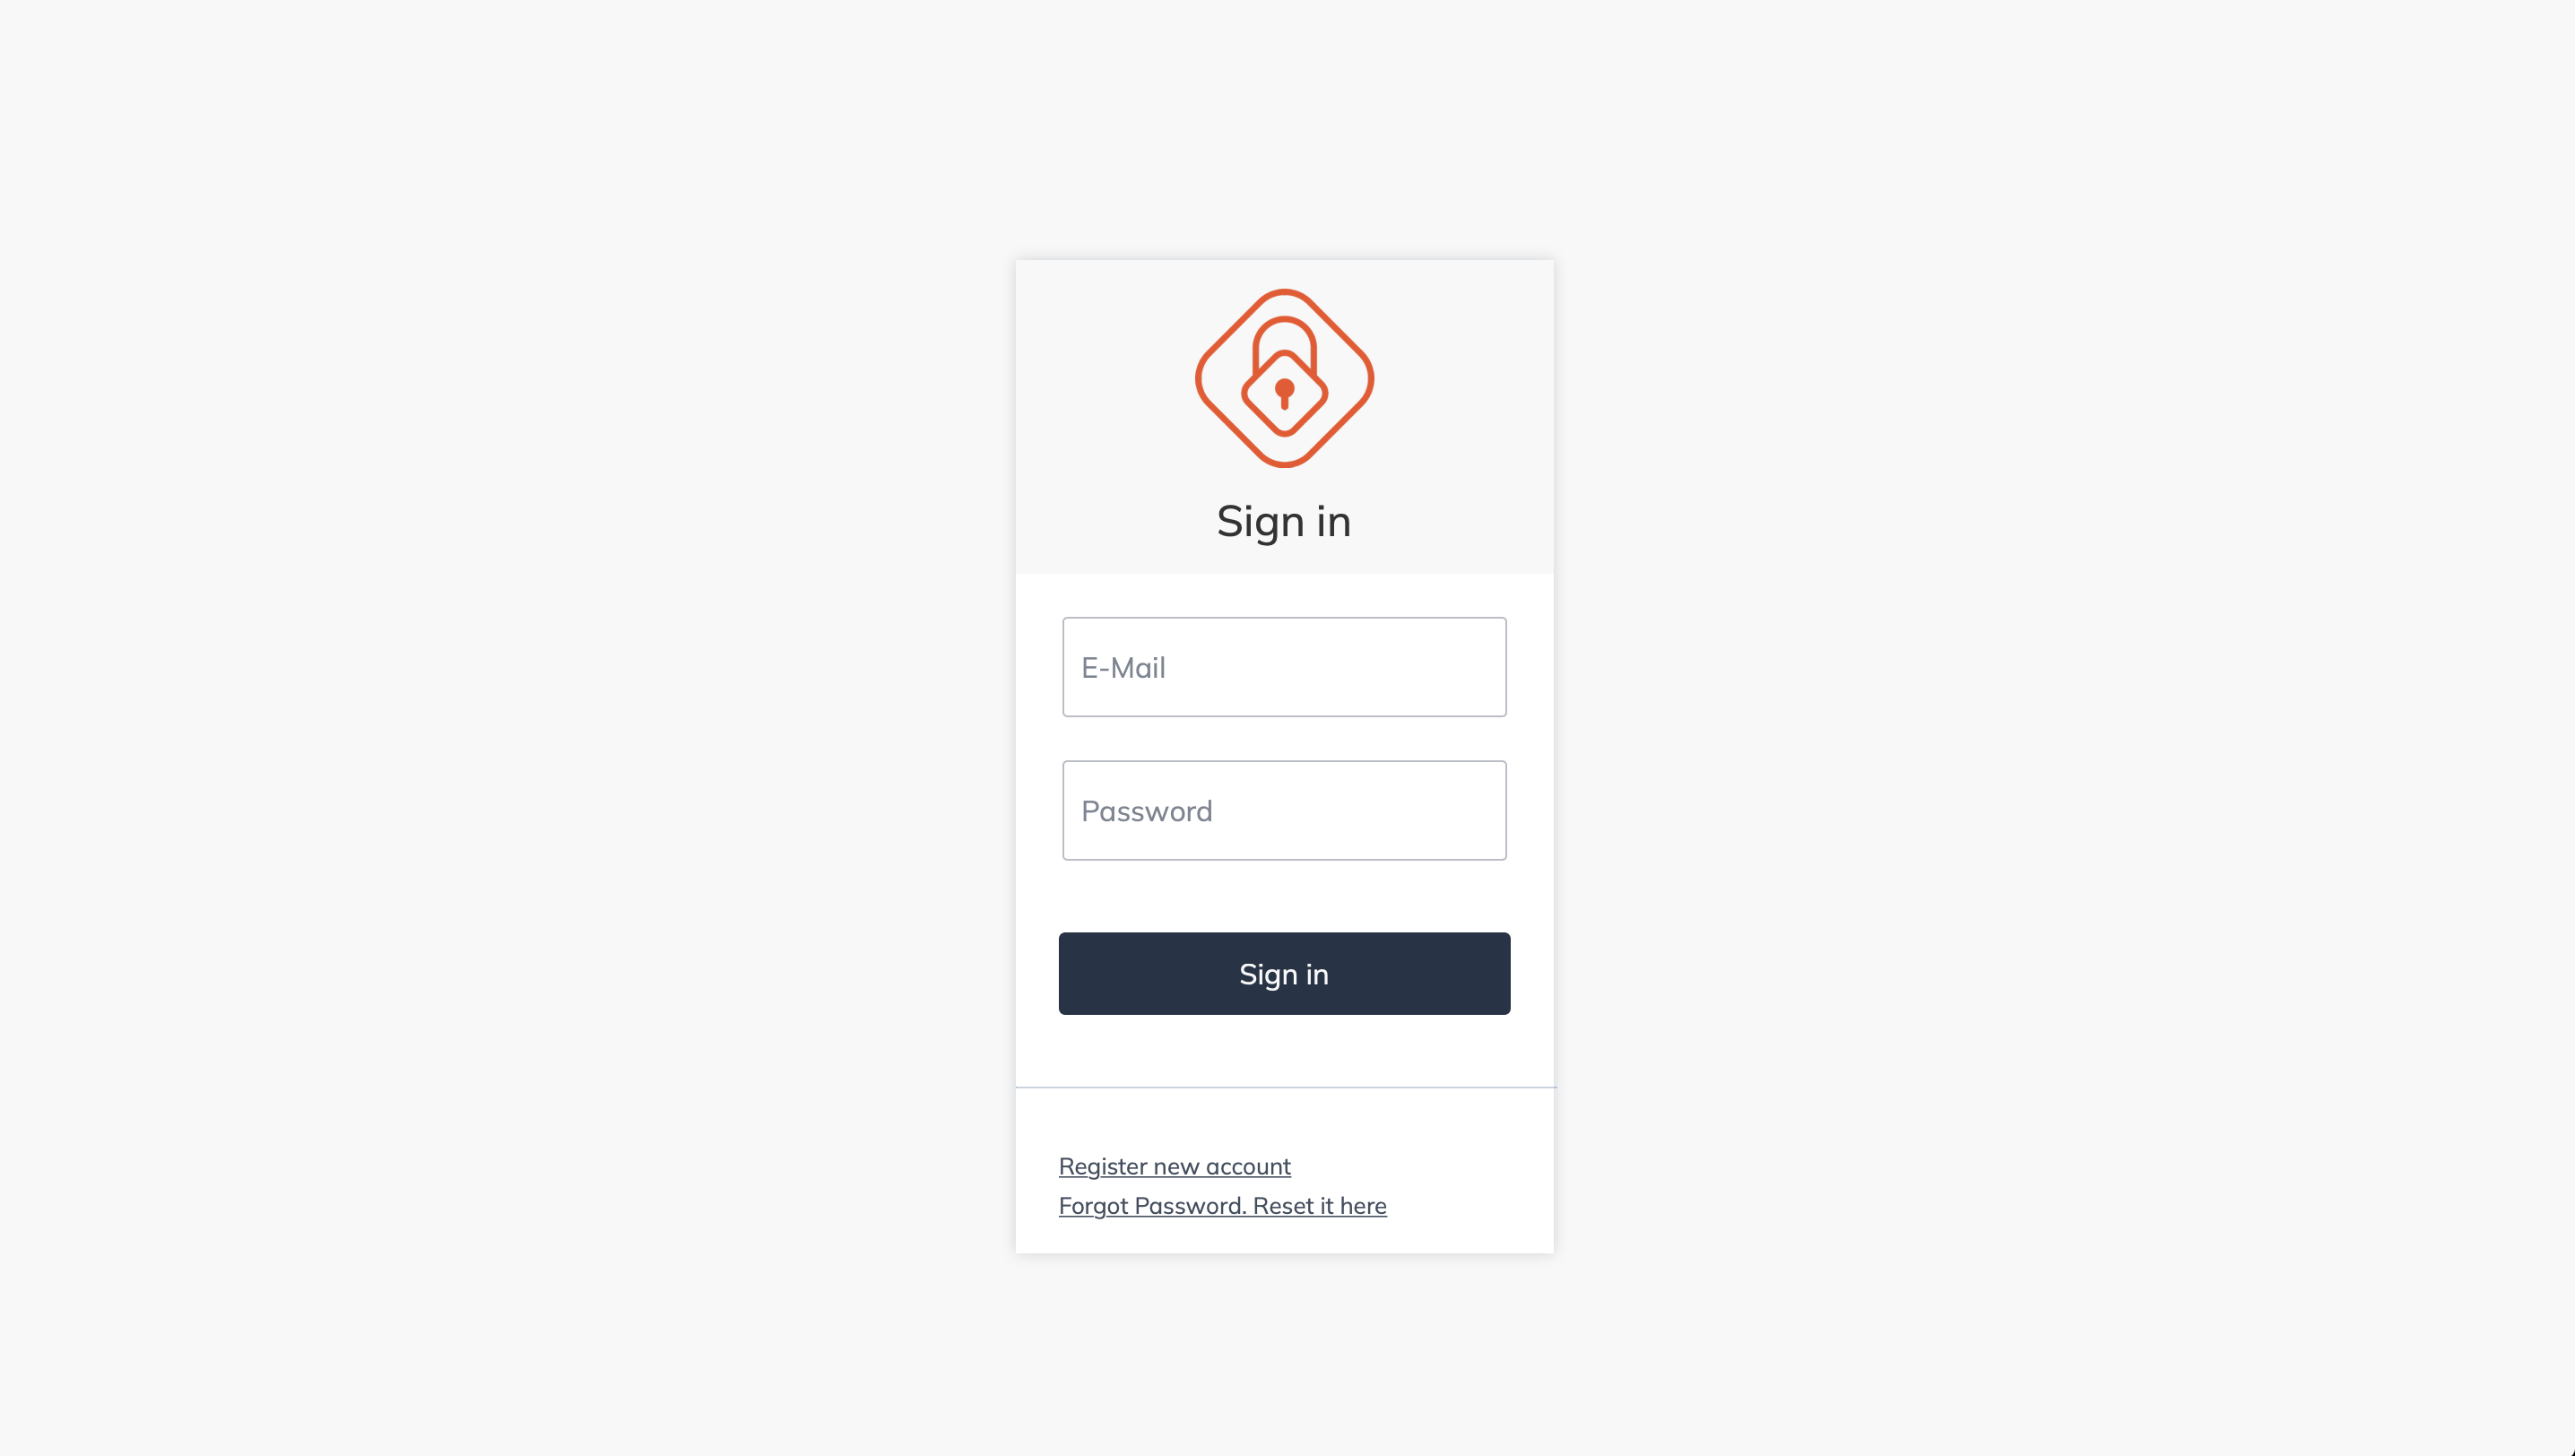
TwikFit is accessible through the following URL: https://fit.twikit.com.
The URL initially leads to a login screen. Here, you can use your Twikit account credentials to log in.
Products page
Once logged in, you arrive at the products page. On this page, you have an overview of the available products within the active organization. You can easily switch organization by clicking the dropdown menu below ‘TwikFit’.
To change the TwikFit platform’s language, click the dropdown menu located below the menu on the left side of the page.
This is also a page where you can start a design by clicking on a product and then on the ‘Start design flow’ button in the bottom right corner. Before we explain how to begin a design flow, we are going to present the other pages first found here in the TwikFit menu.
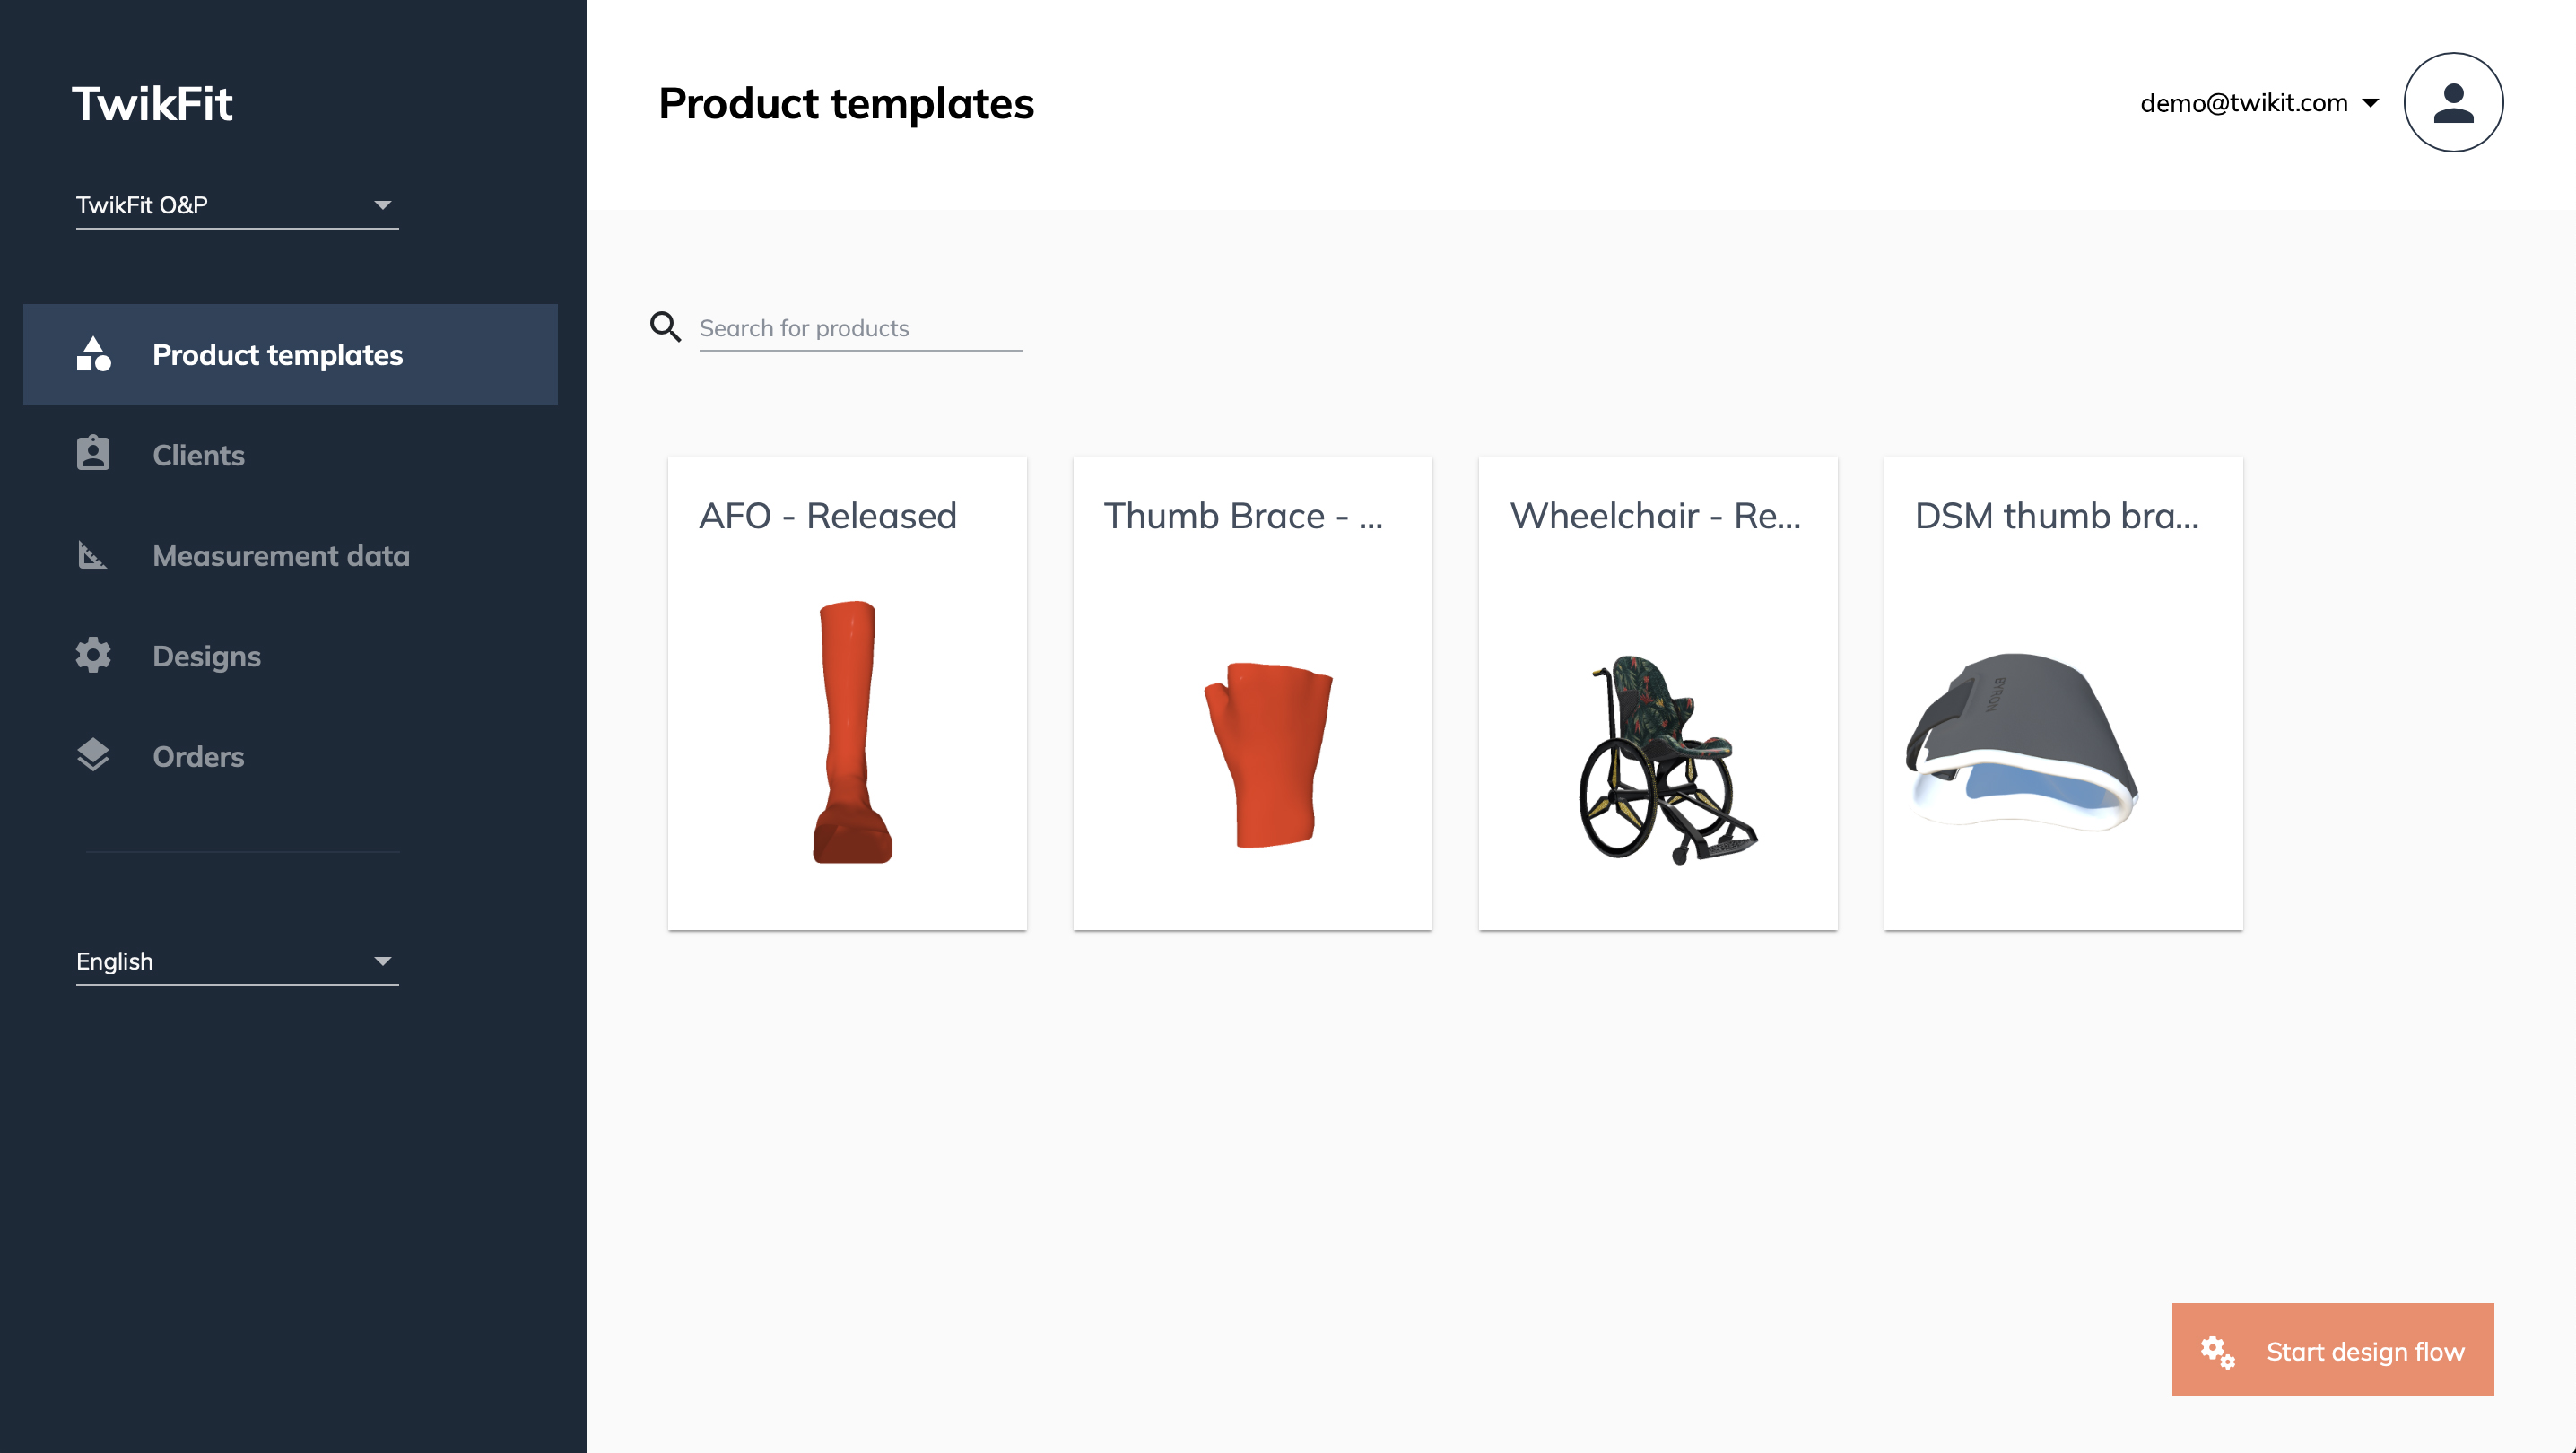
In the menu on the left side of the page, you can navigate between Product templates, Clients, Measurement data, Designs, and Orders.
Clients page
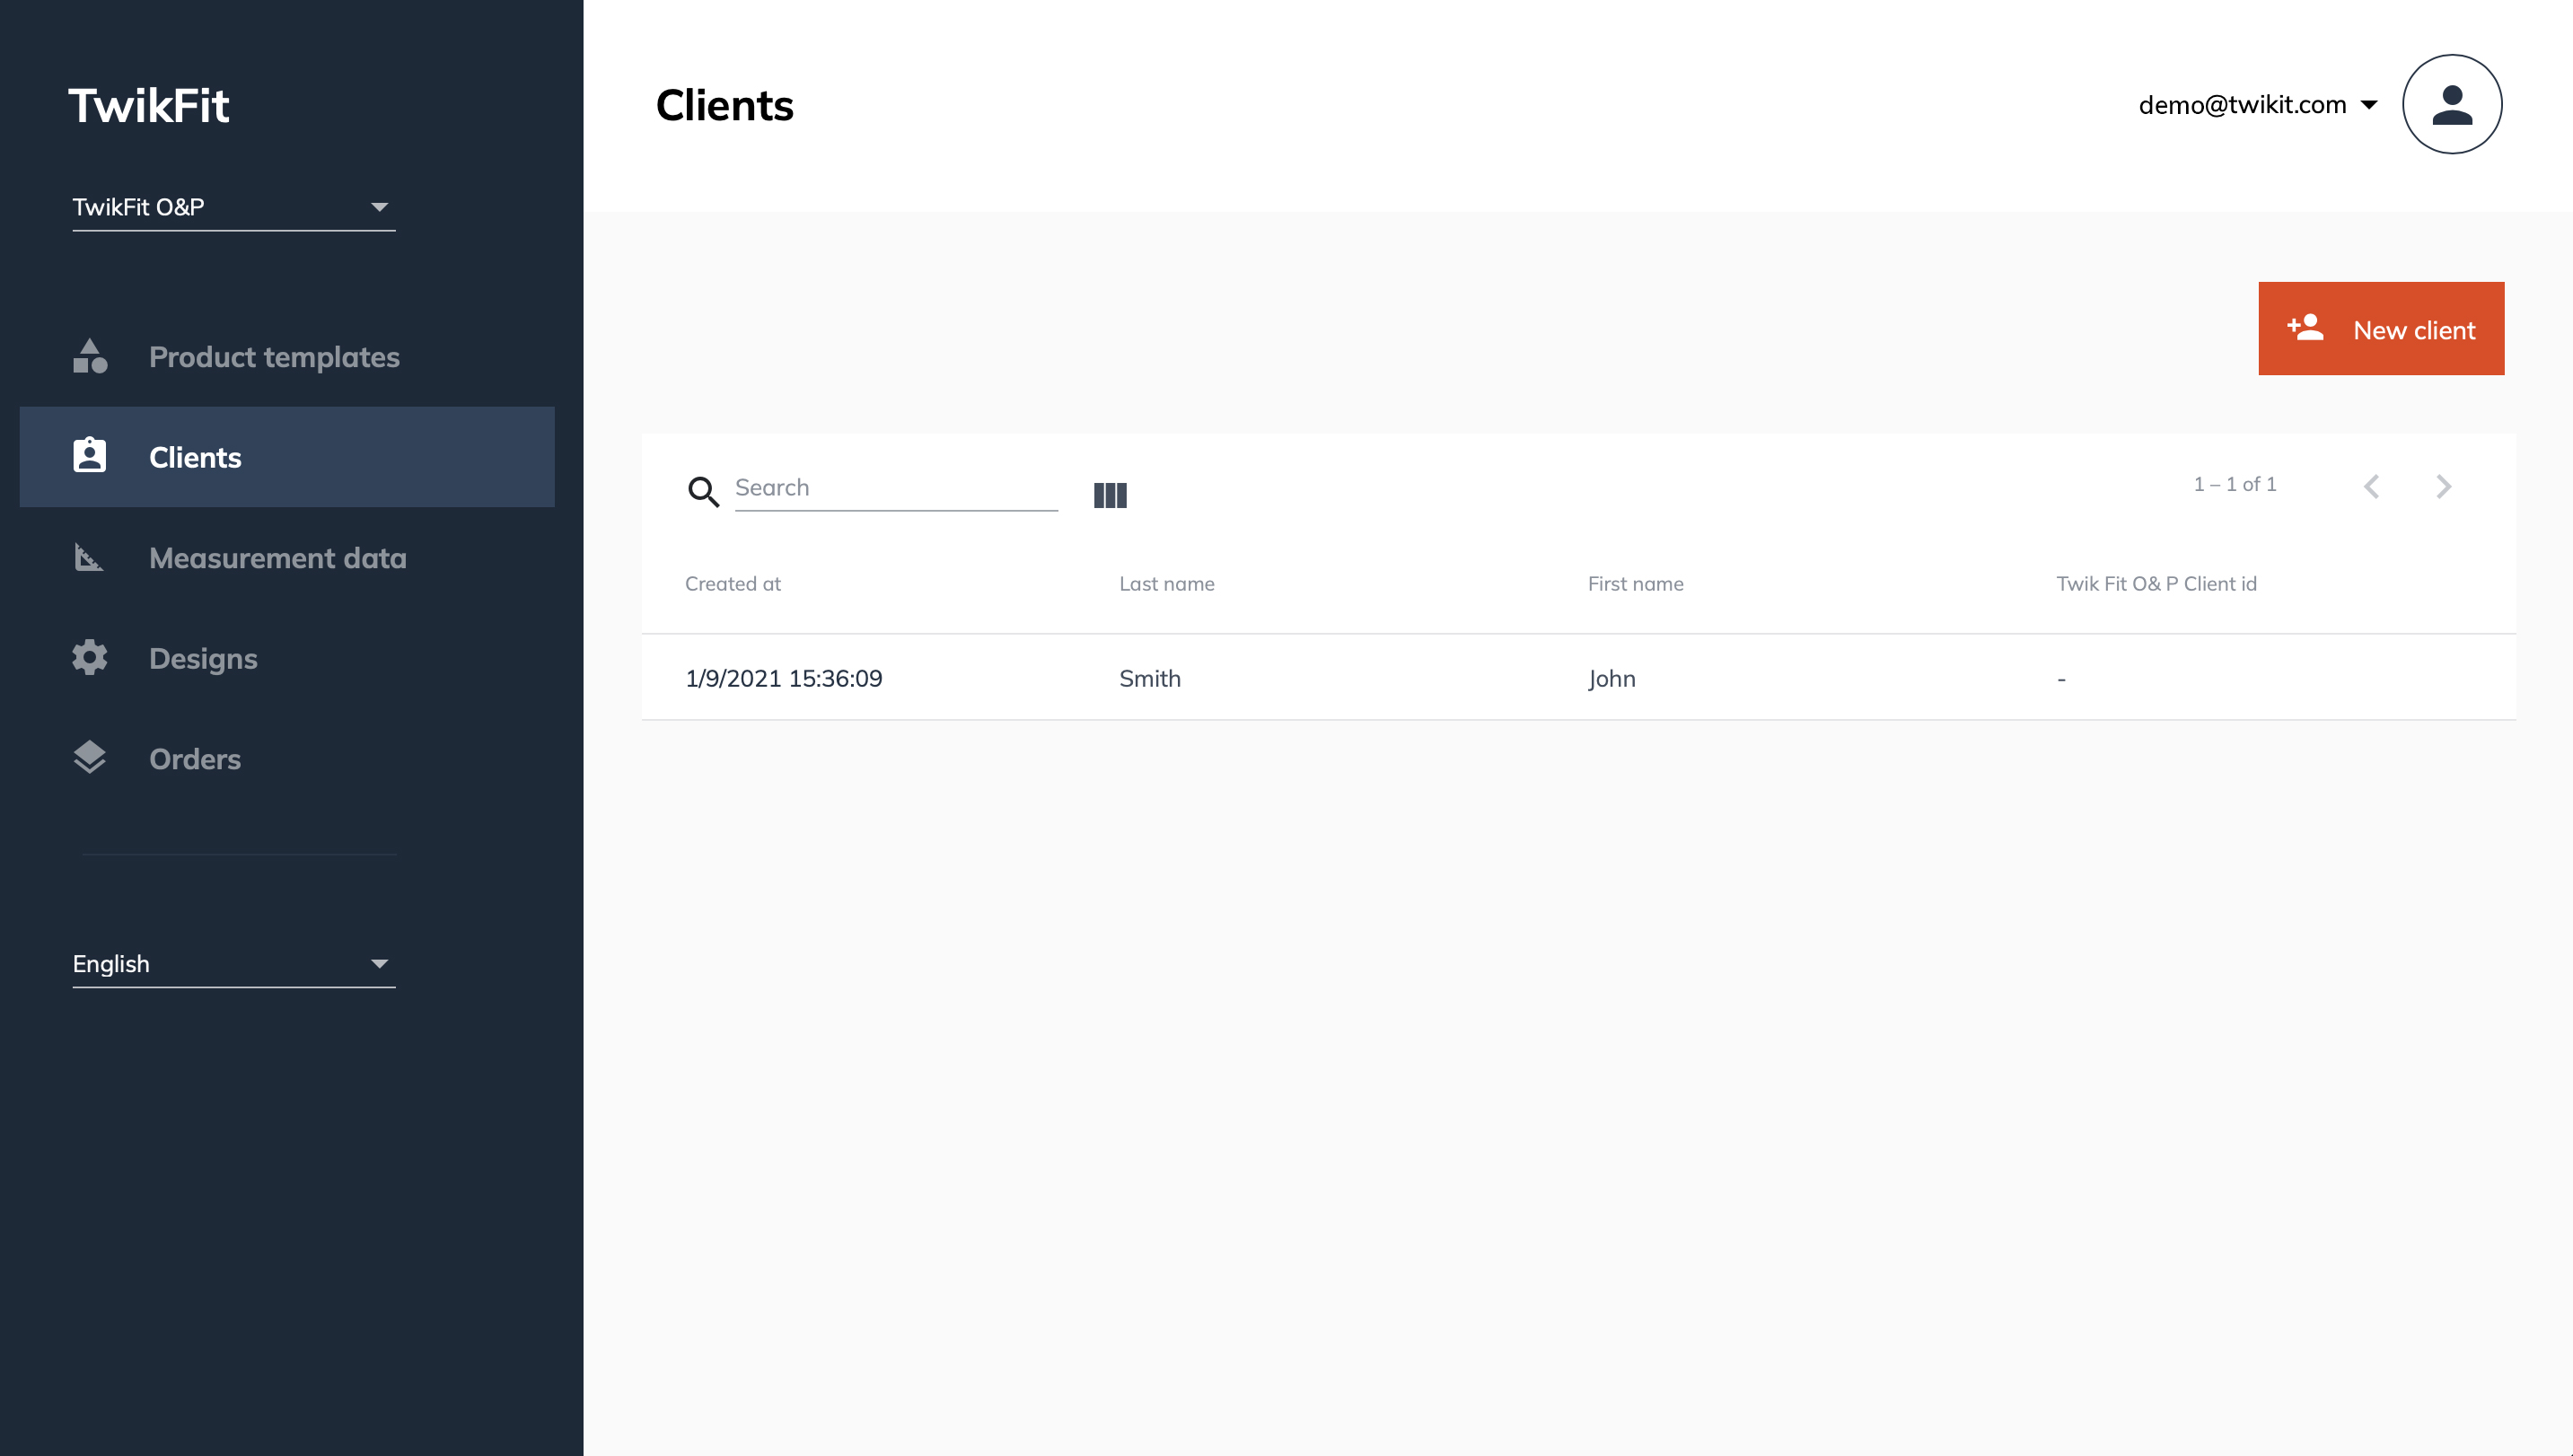
On the Clients page, you have a structured overview of your organization’s clients. The table lists the date that the patient file was created, the name, and the client id.
You can easily conduct a search by clicking the magnifying glass or hide/show certain columns by clicking the three columns next to the search field.
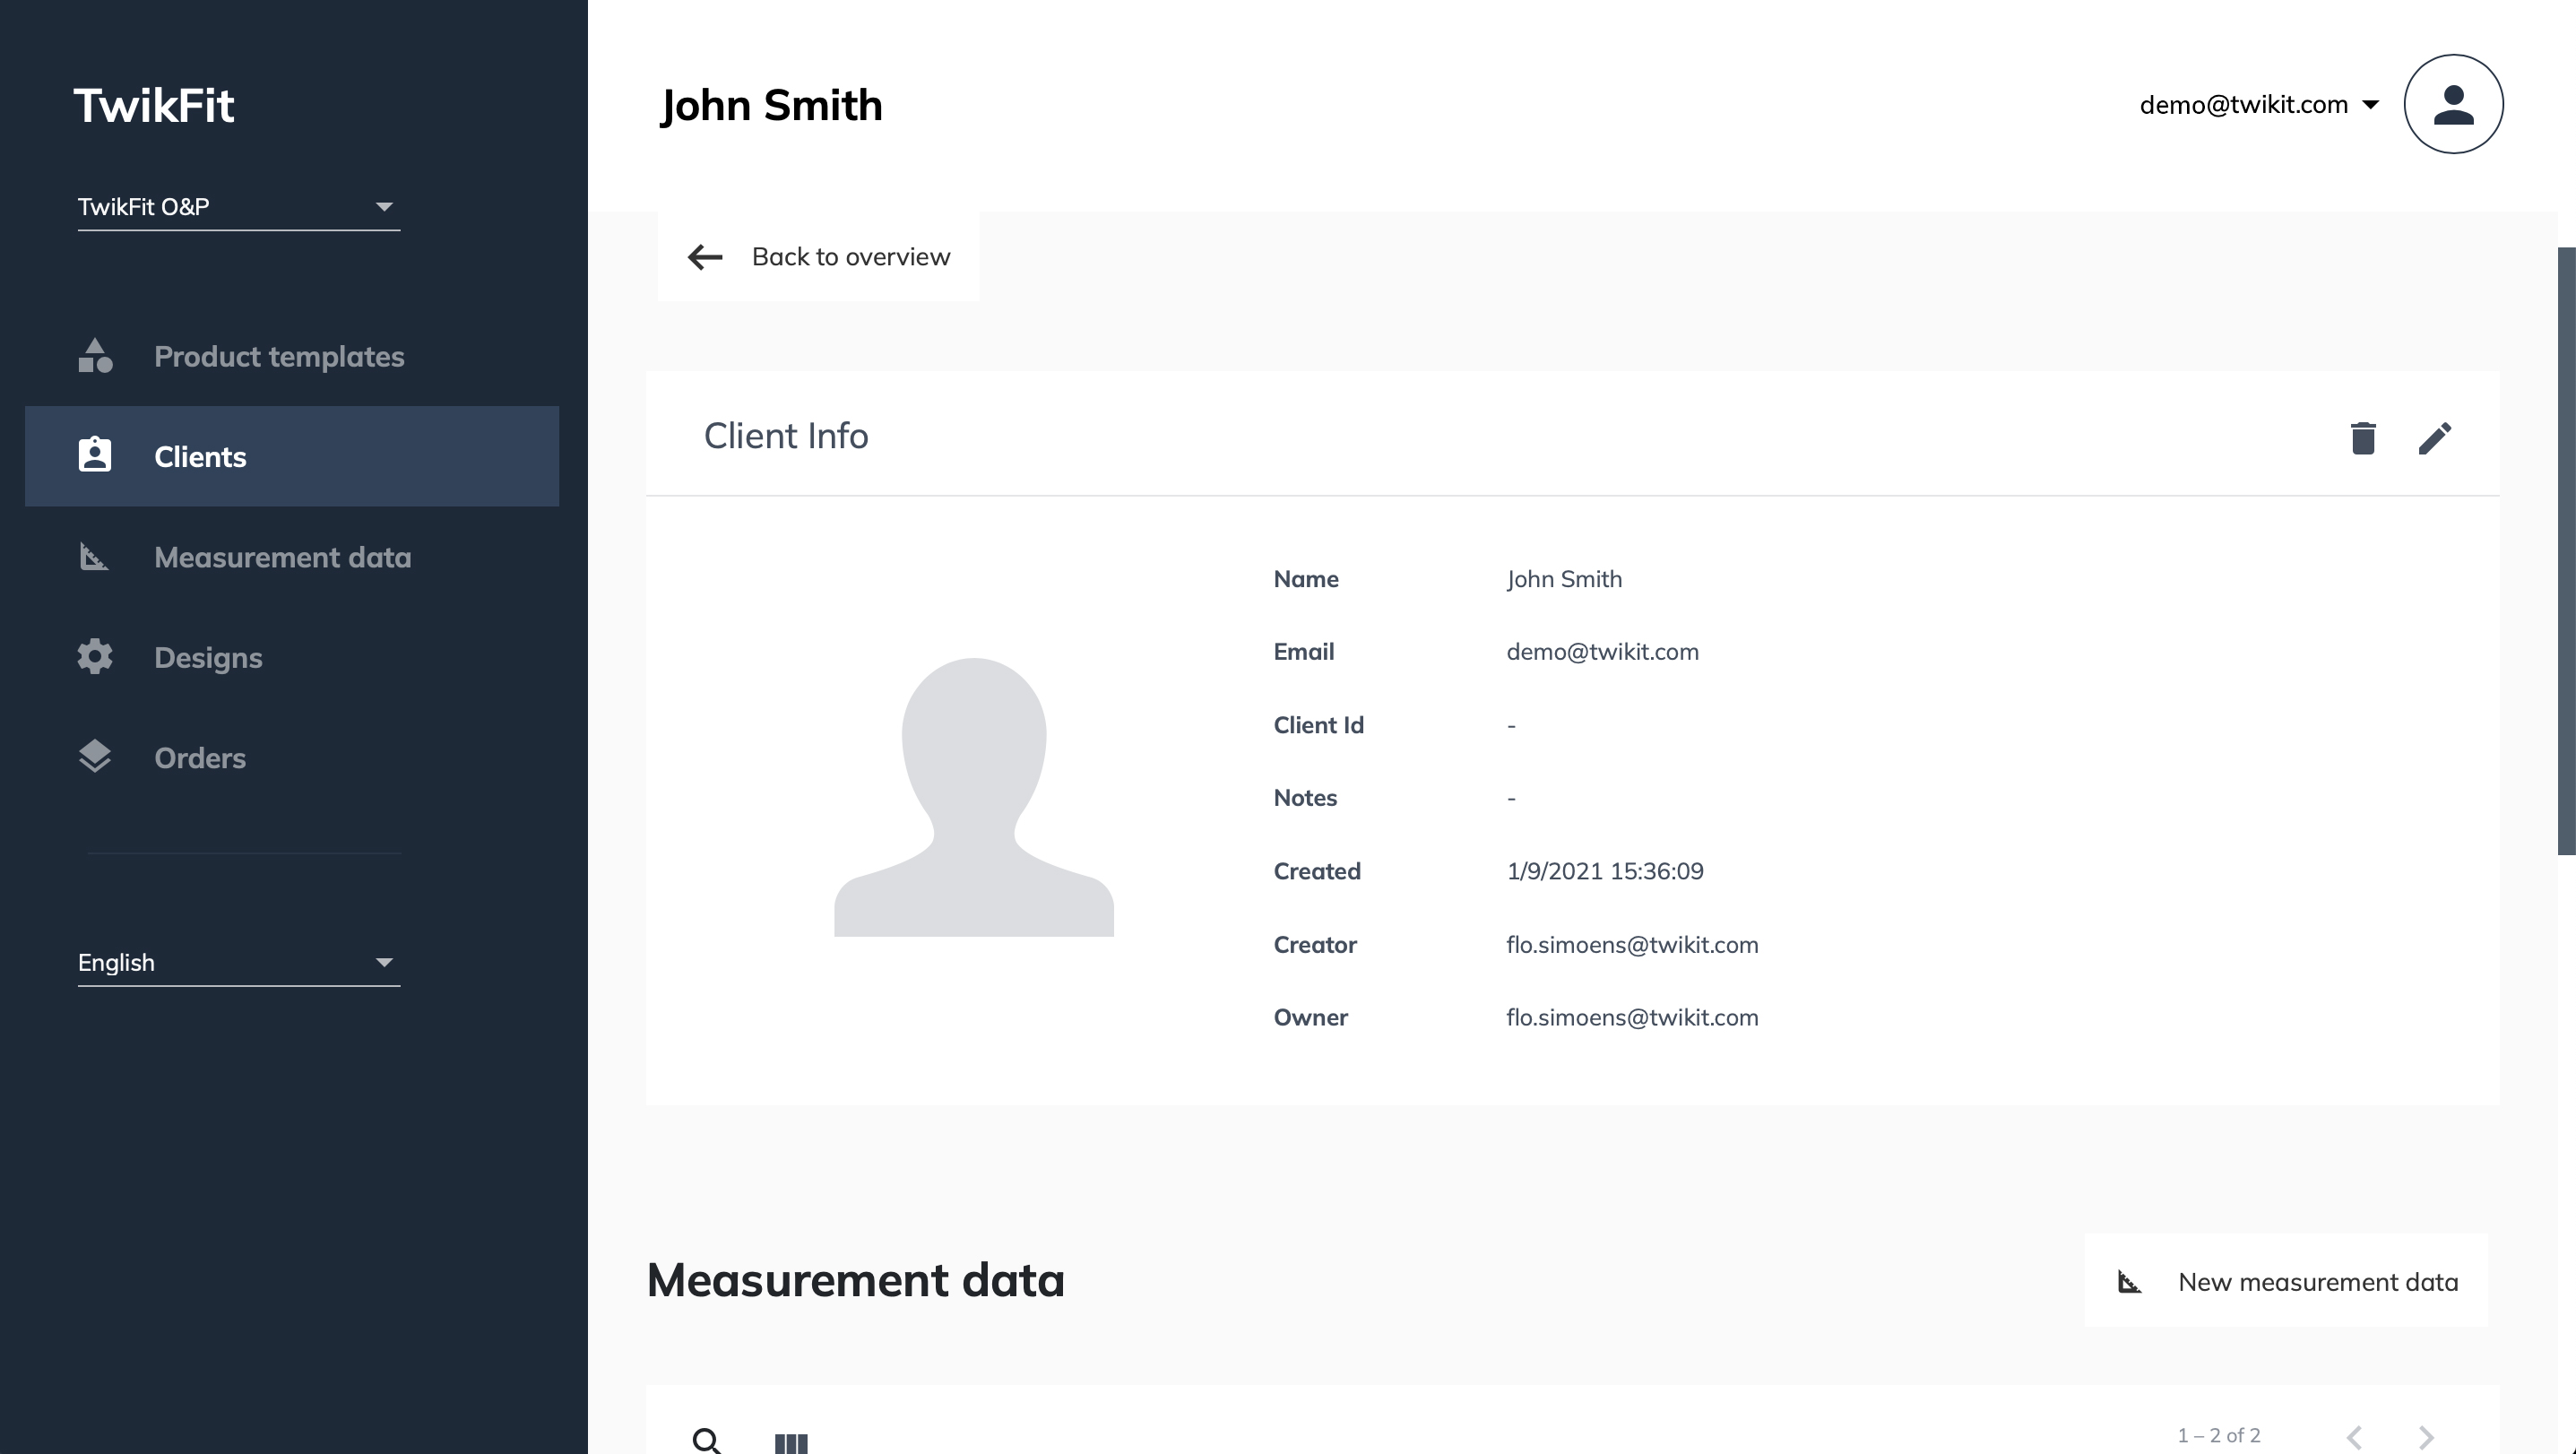
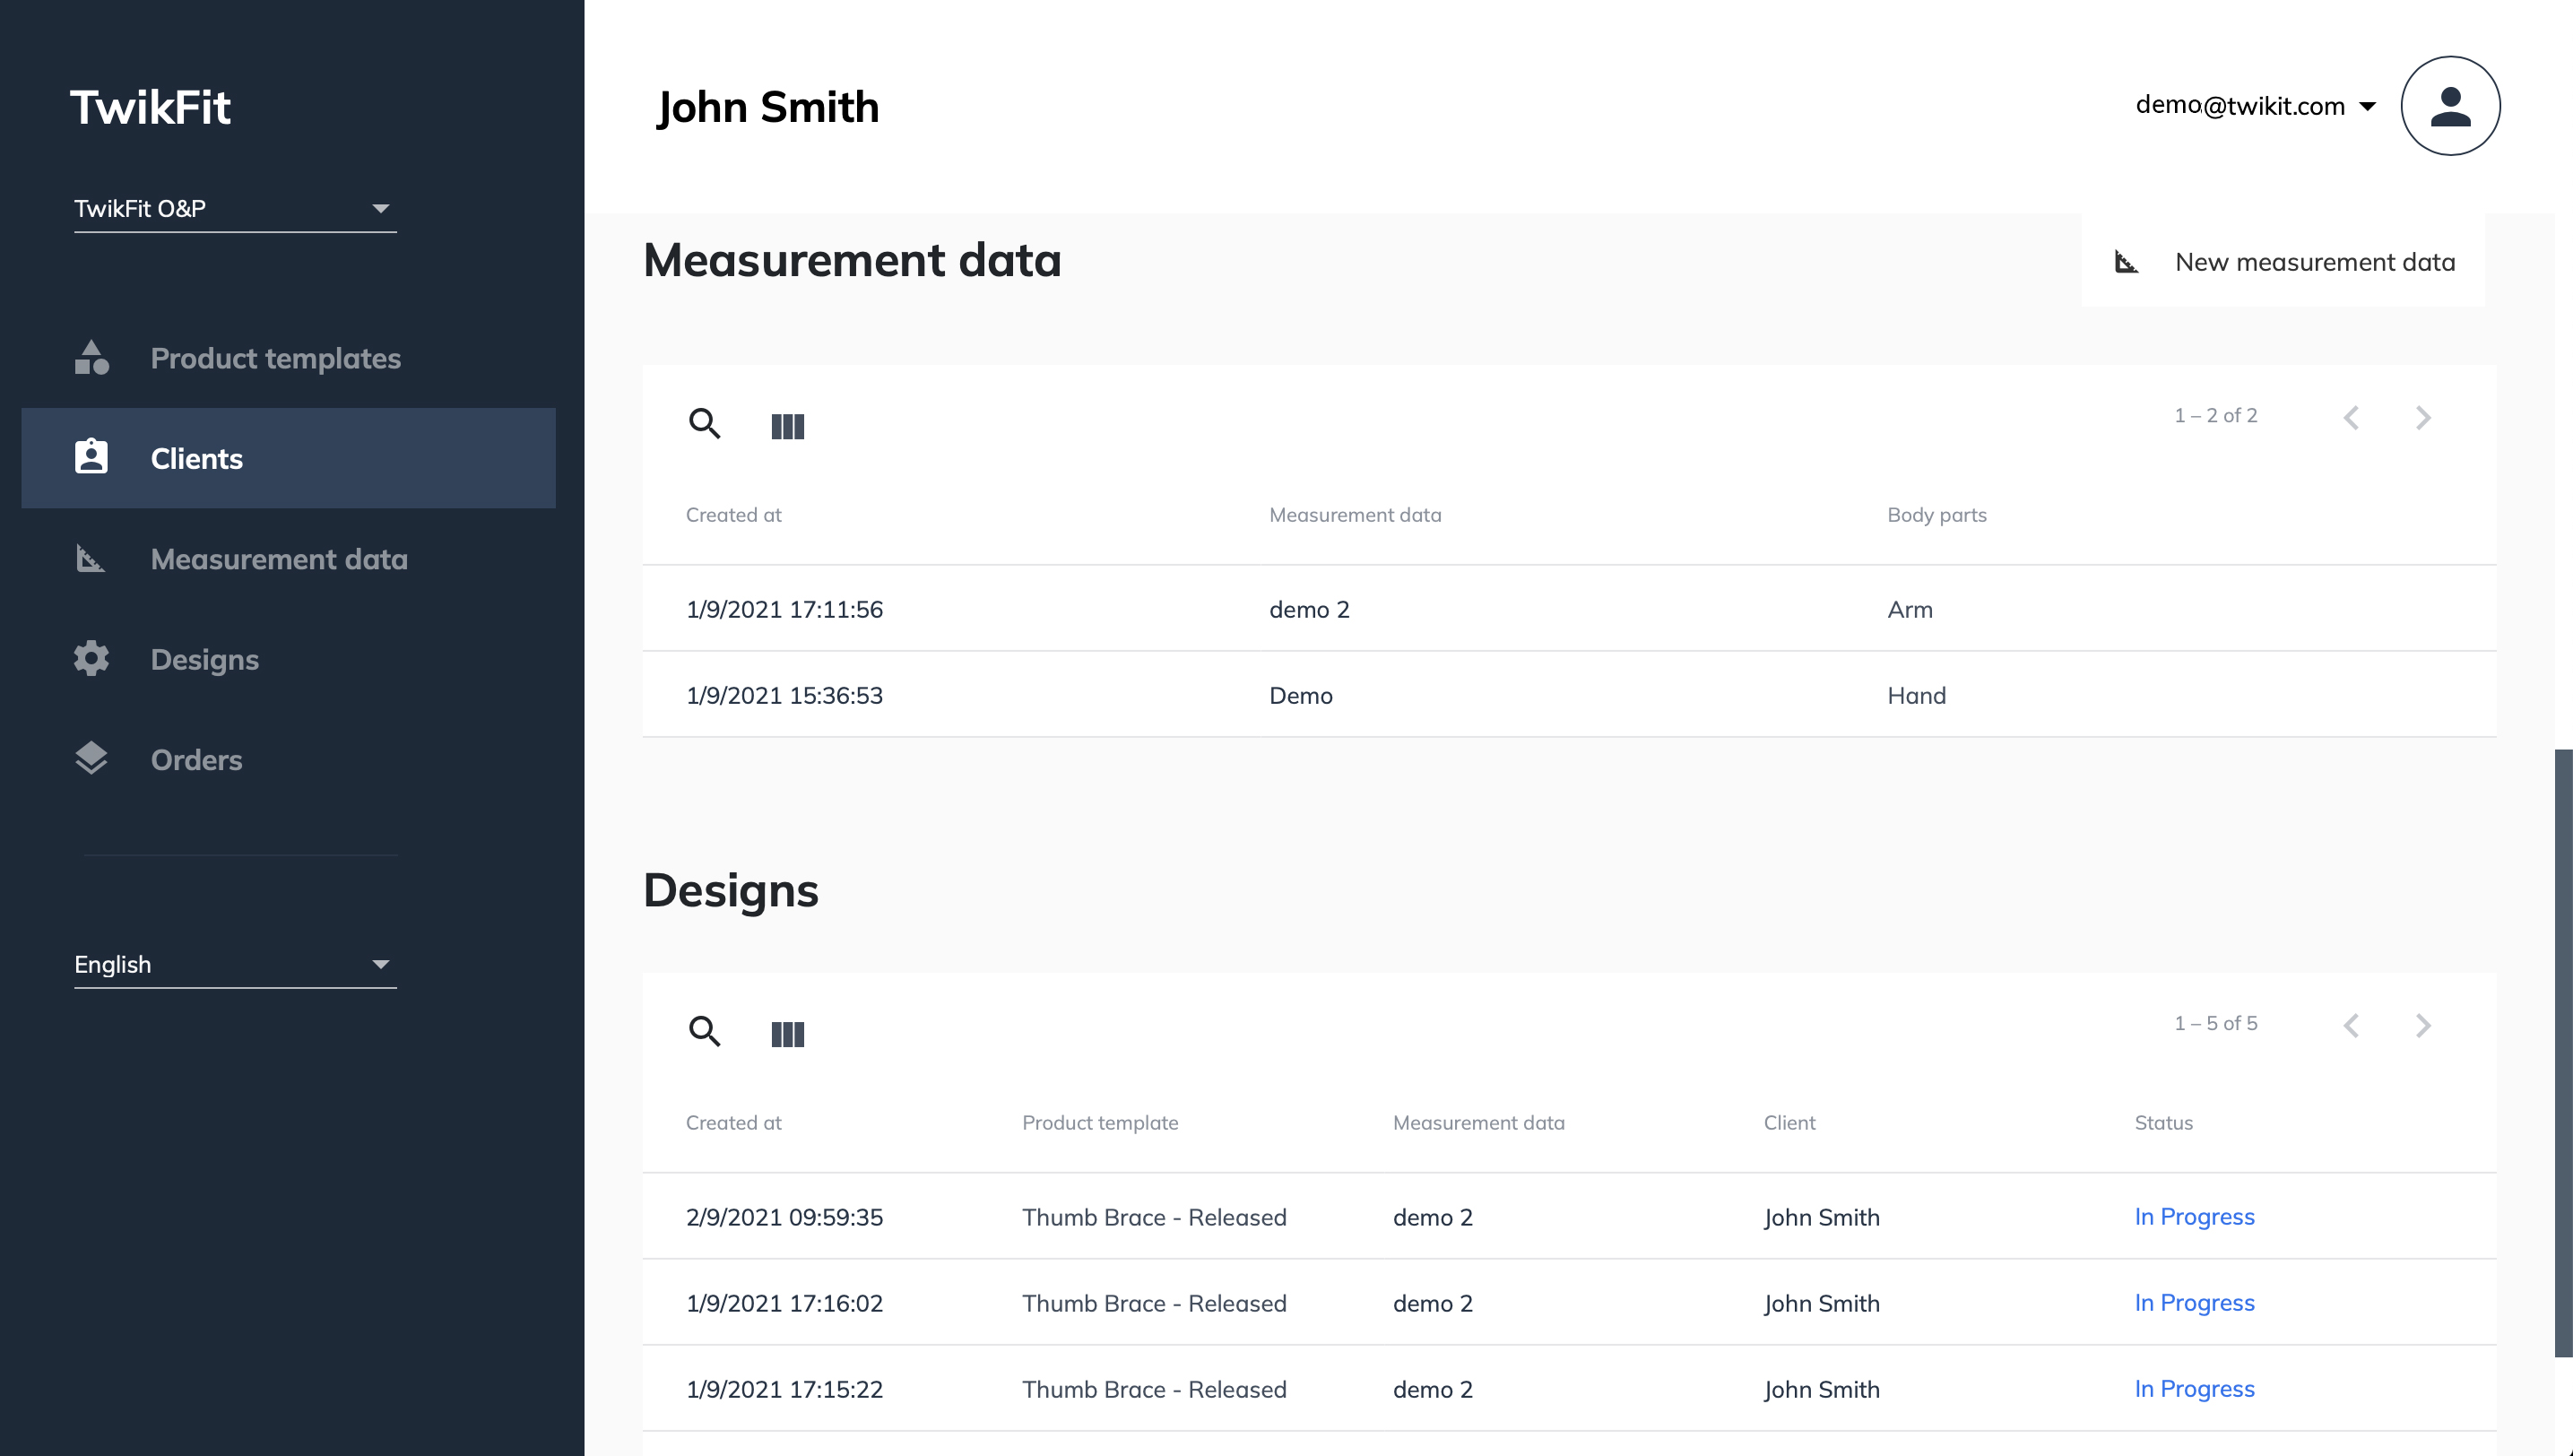
To view all client data, click on the creation date of the desired client. Another page will load listing the Client Info, Measurement data, and Designs. On this page, you can also add or adjust client info, upload new measurement data particular to this client, and visit completed designs or those in progress.
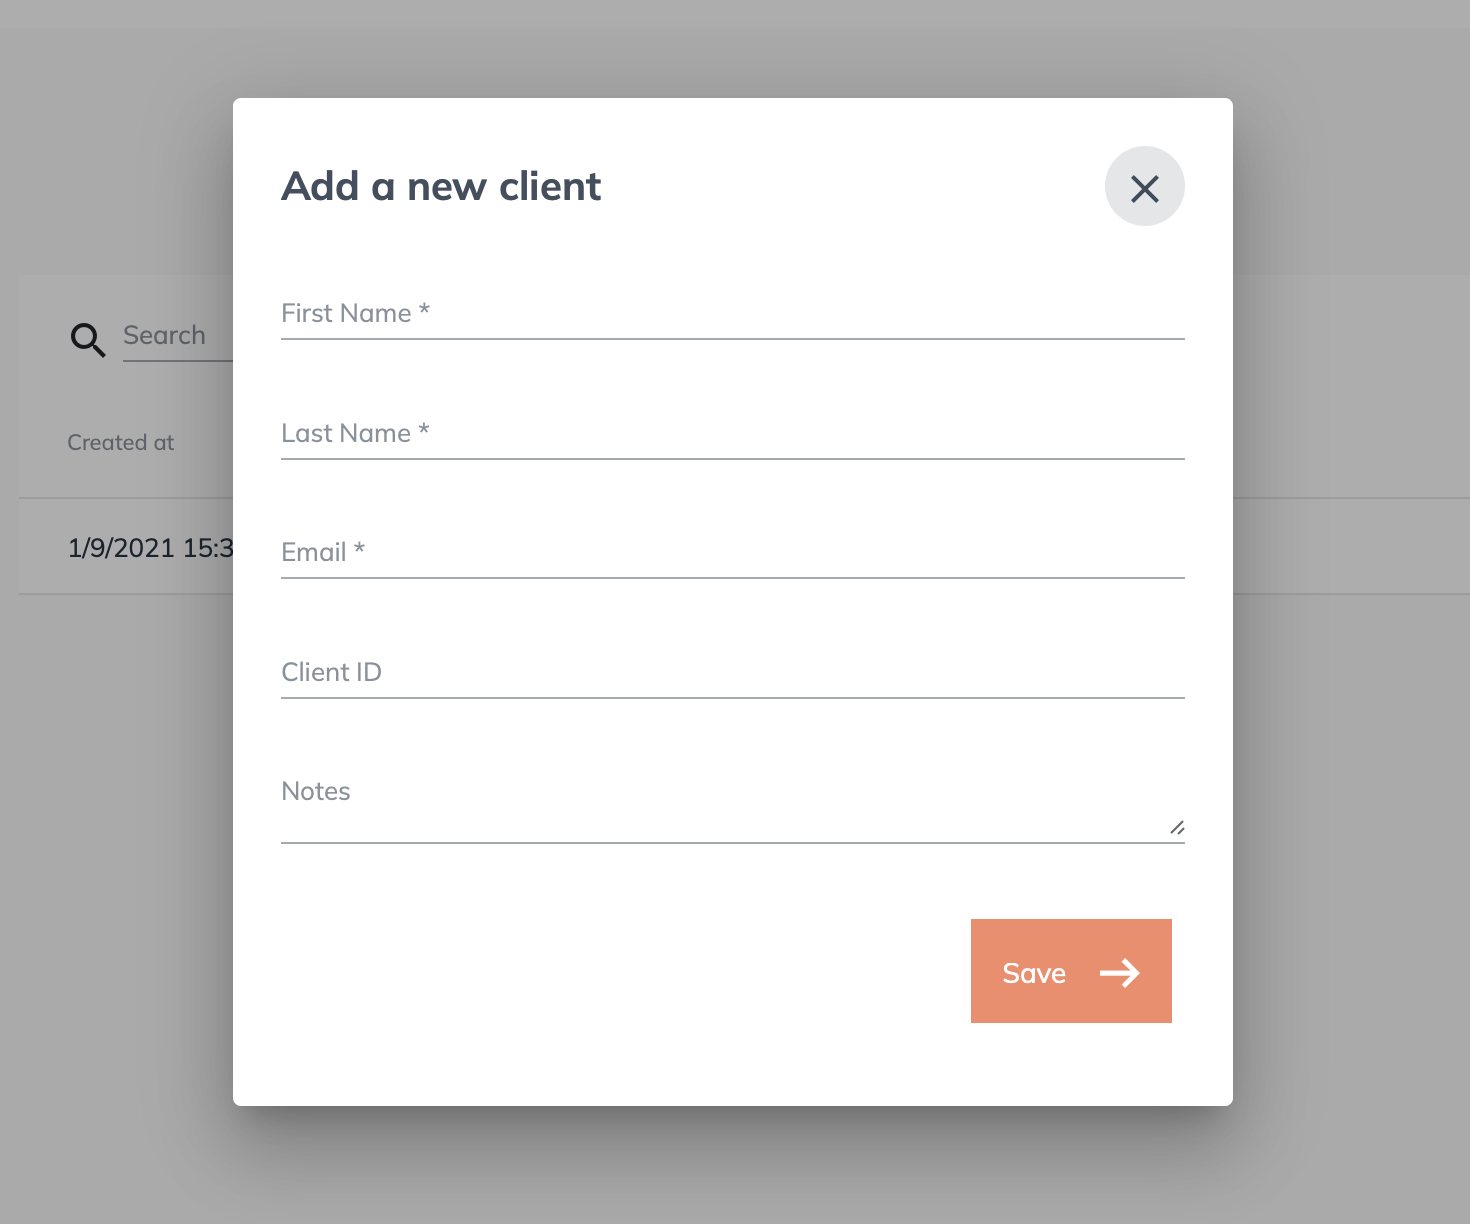
To add a new client, click the ‘New client’ button on the right side of the Clients page, fill in the required fields, and click ‘Save’.
Measurement data page
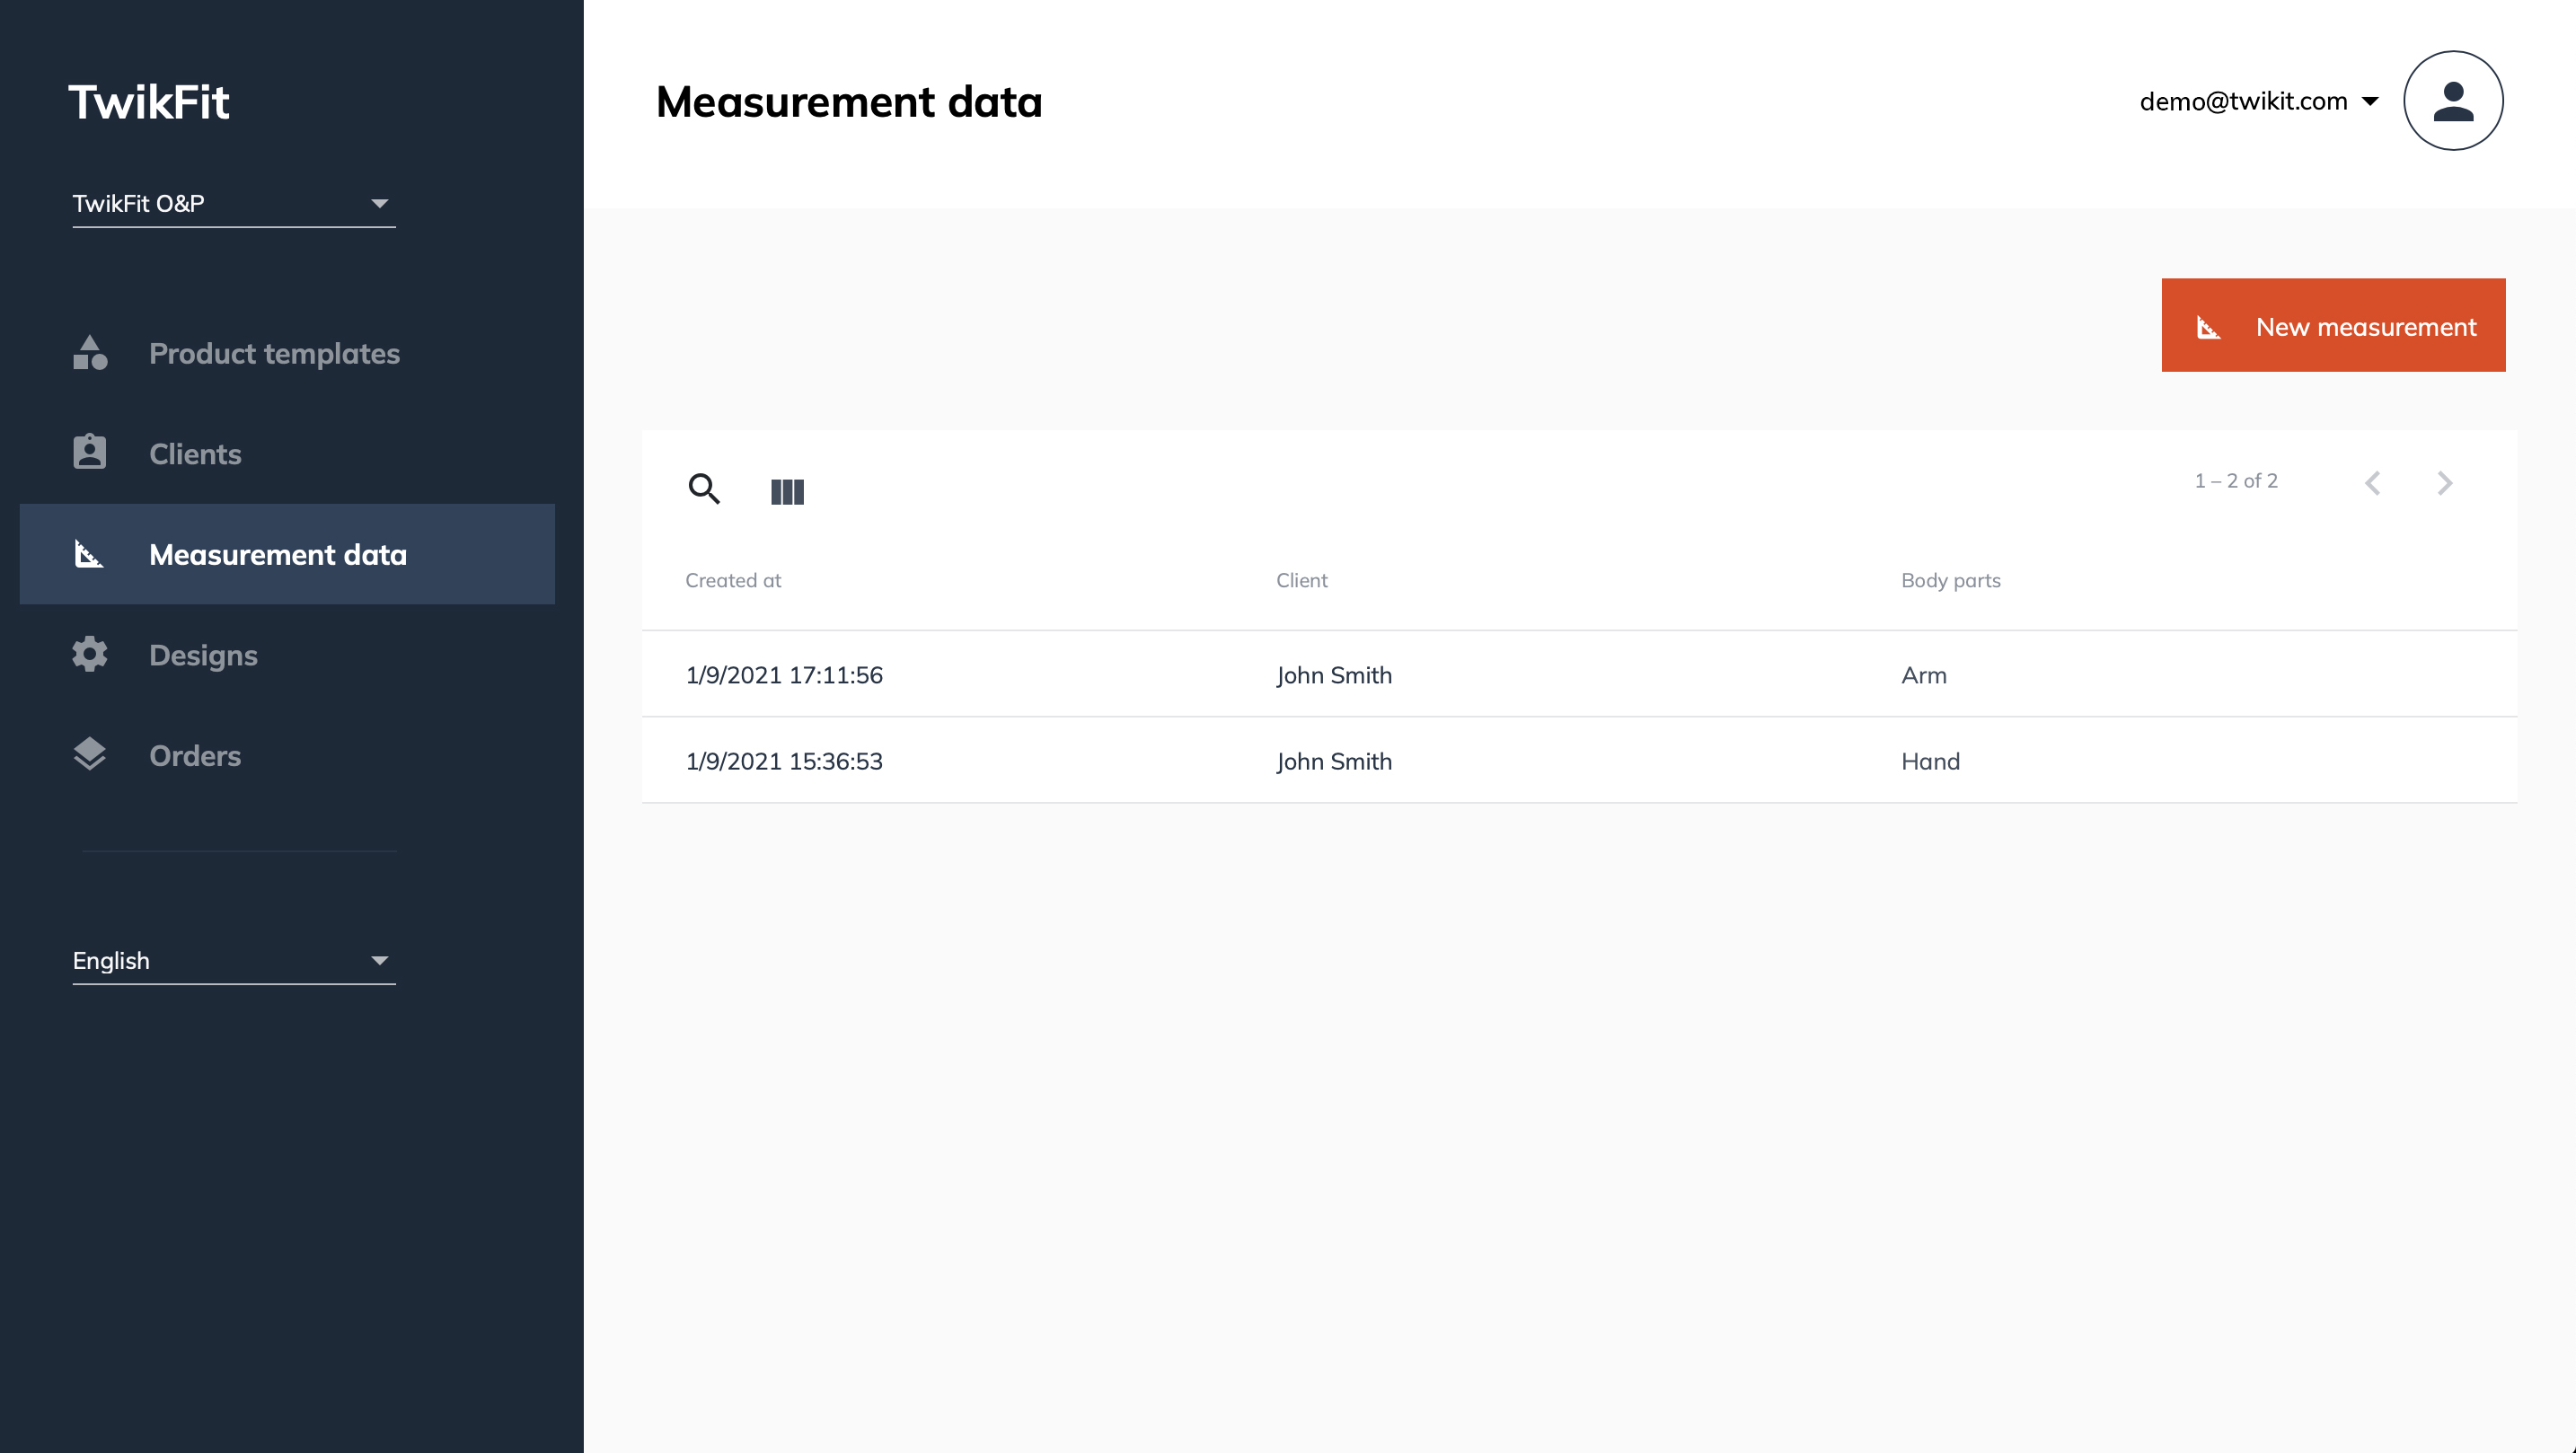
Below the Clients page, you can find the Measurement data page. Here you will find a structured list of all the measurement data uploaded onto the TwikFit platform. The table lists the date that the data was uploaded, the name of the patient it belongs to, and the body part.
You can easily conduct a search by clicking the magnifying glass or hide/show certain columns by clicking the three columns next to the search field.
To add measurement data, click the ‘New measurement’ button on the right side of the Measurement data page, fill in the required fields, and click ‘Save’.
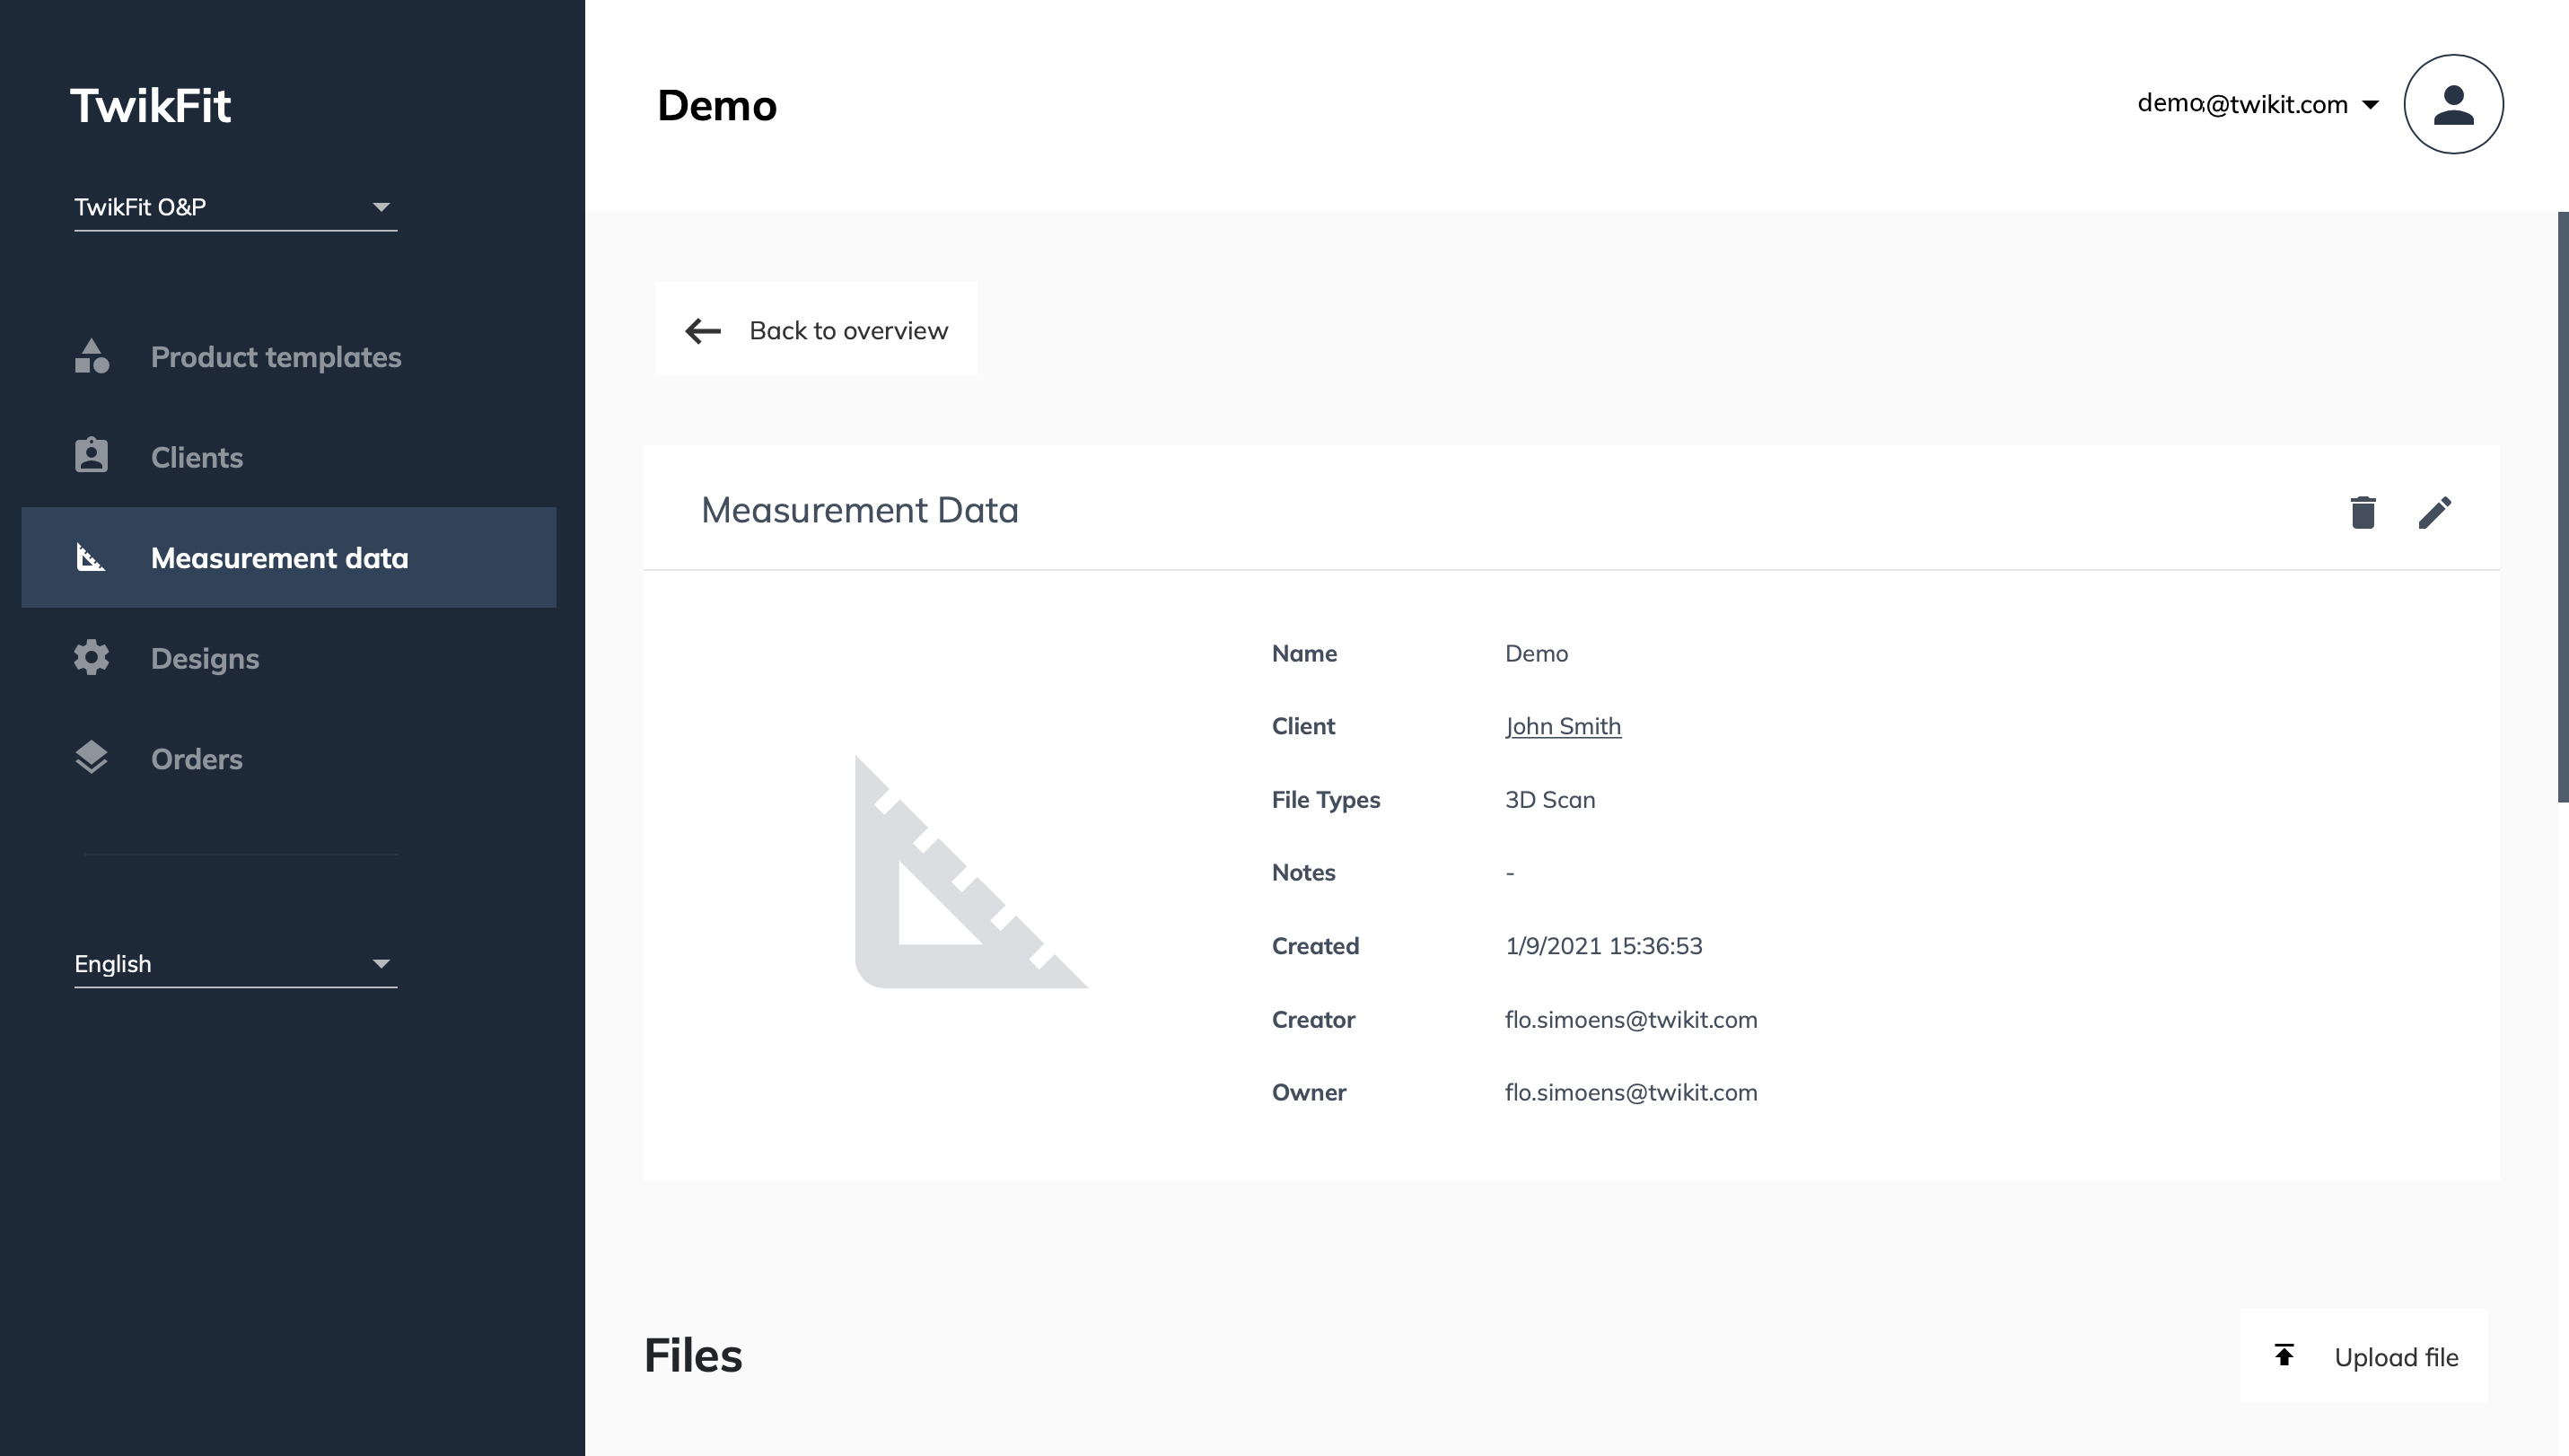
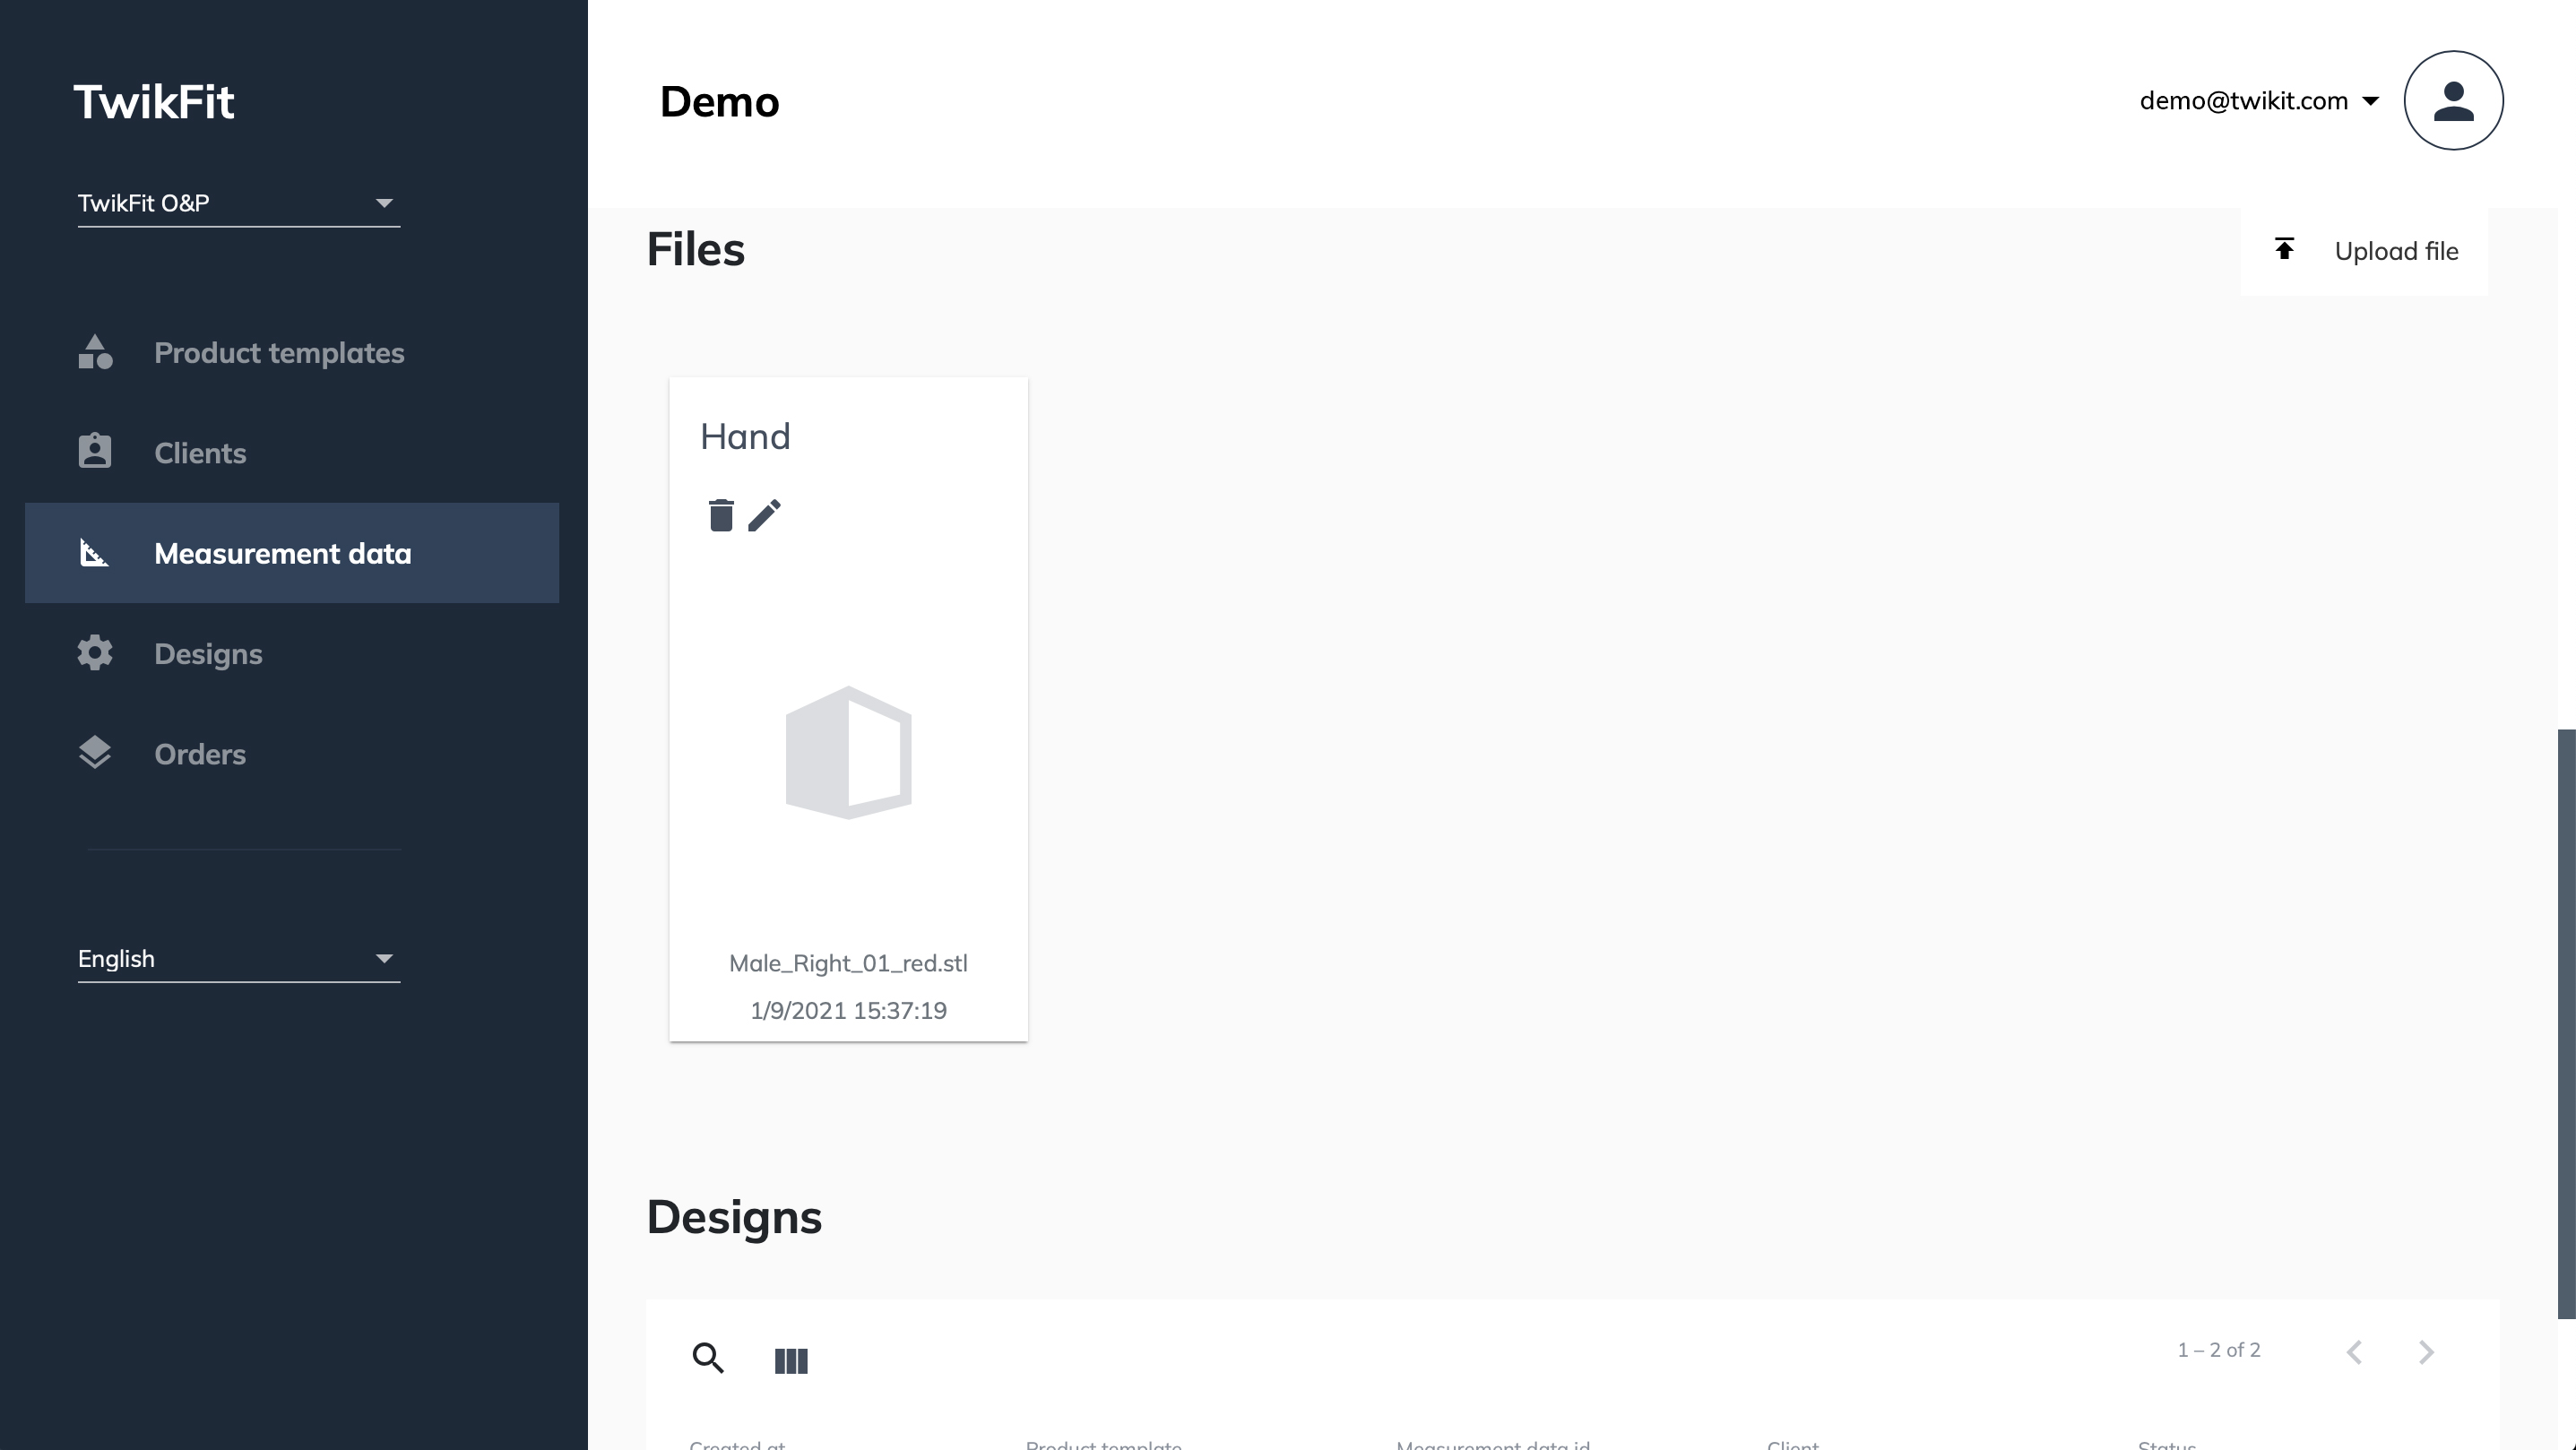
To view the details of certain measurement data, click on the creation date. On this page, you can view and alter all Measurement data info, Files, and completed or ongoing design based on that data. By clicking on ‘Upload file’ you can also upload new data to this specific measurement data.
Designs page
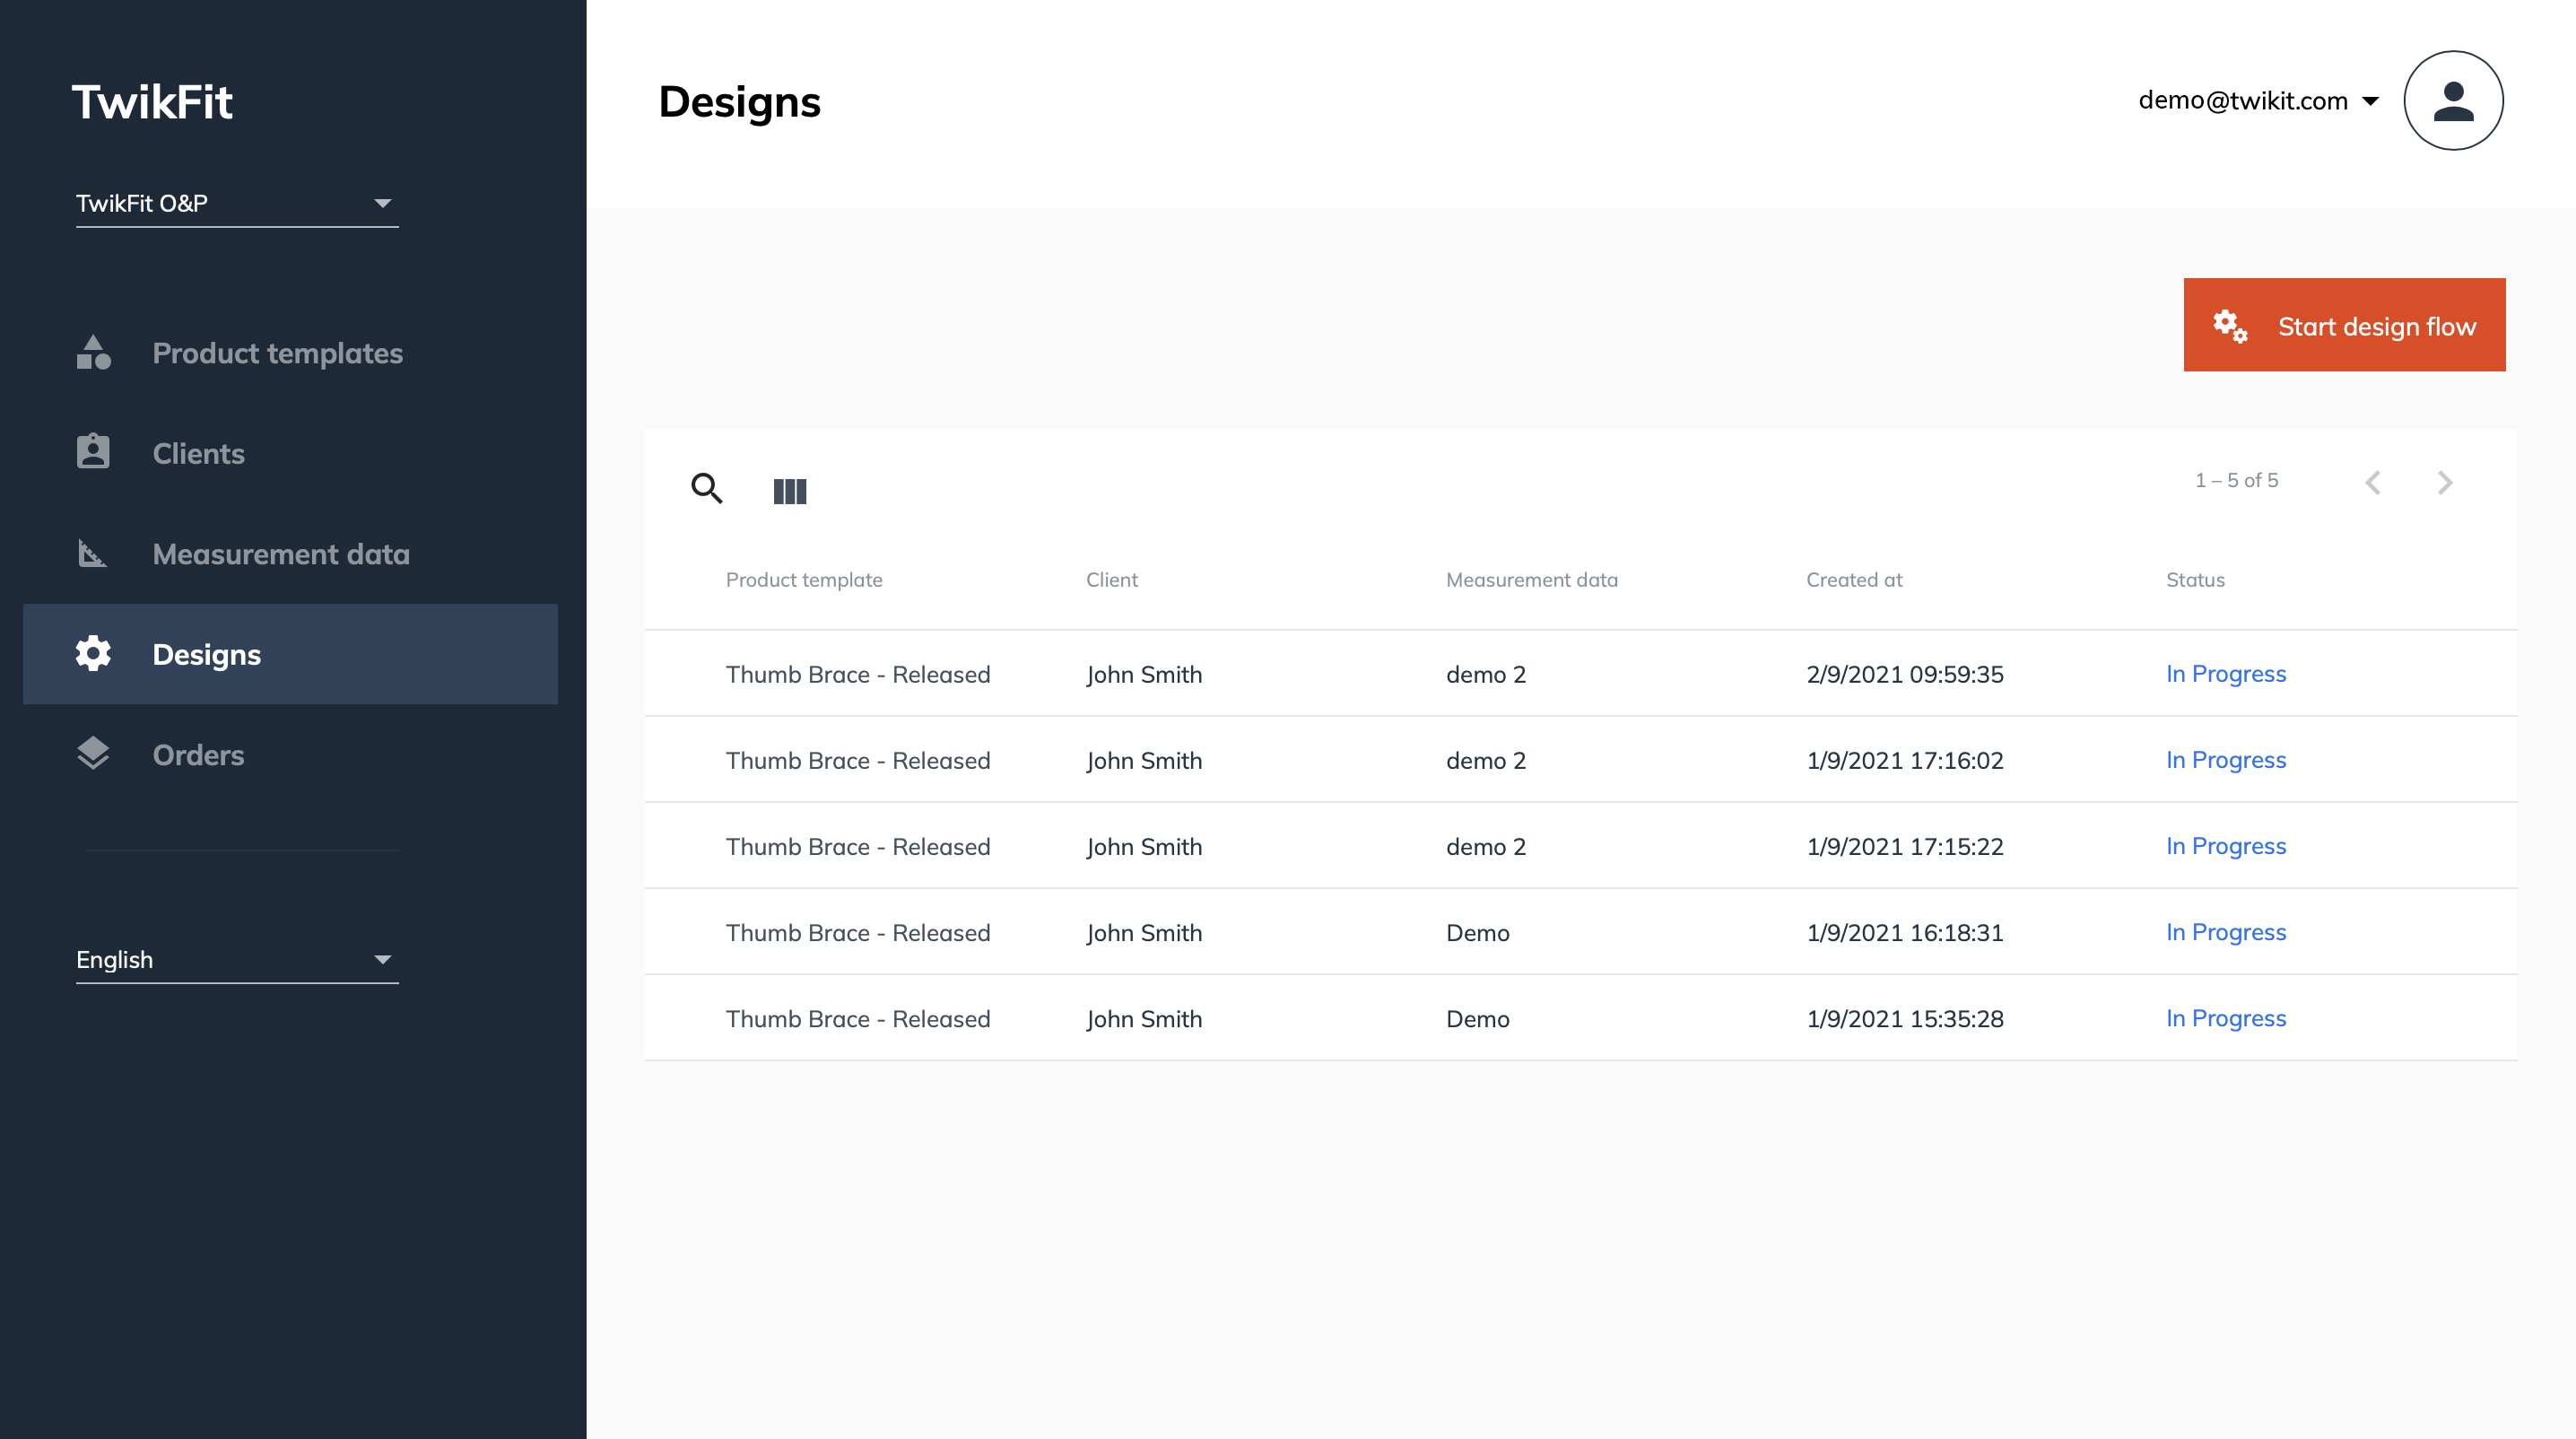
On this page, you can see a table that provides an overview of previously created designs. Each design has the following properties that can be read from left to right in the table: Product template, Client, Measurement data, Created at, and Status.
To start a new design, click the ‘Start design flow’ button.
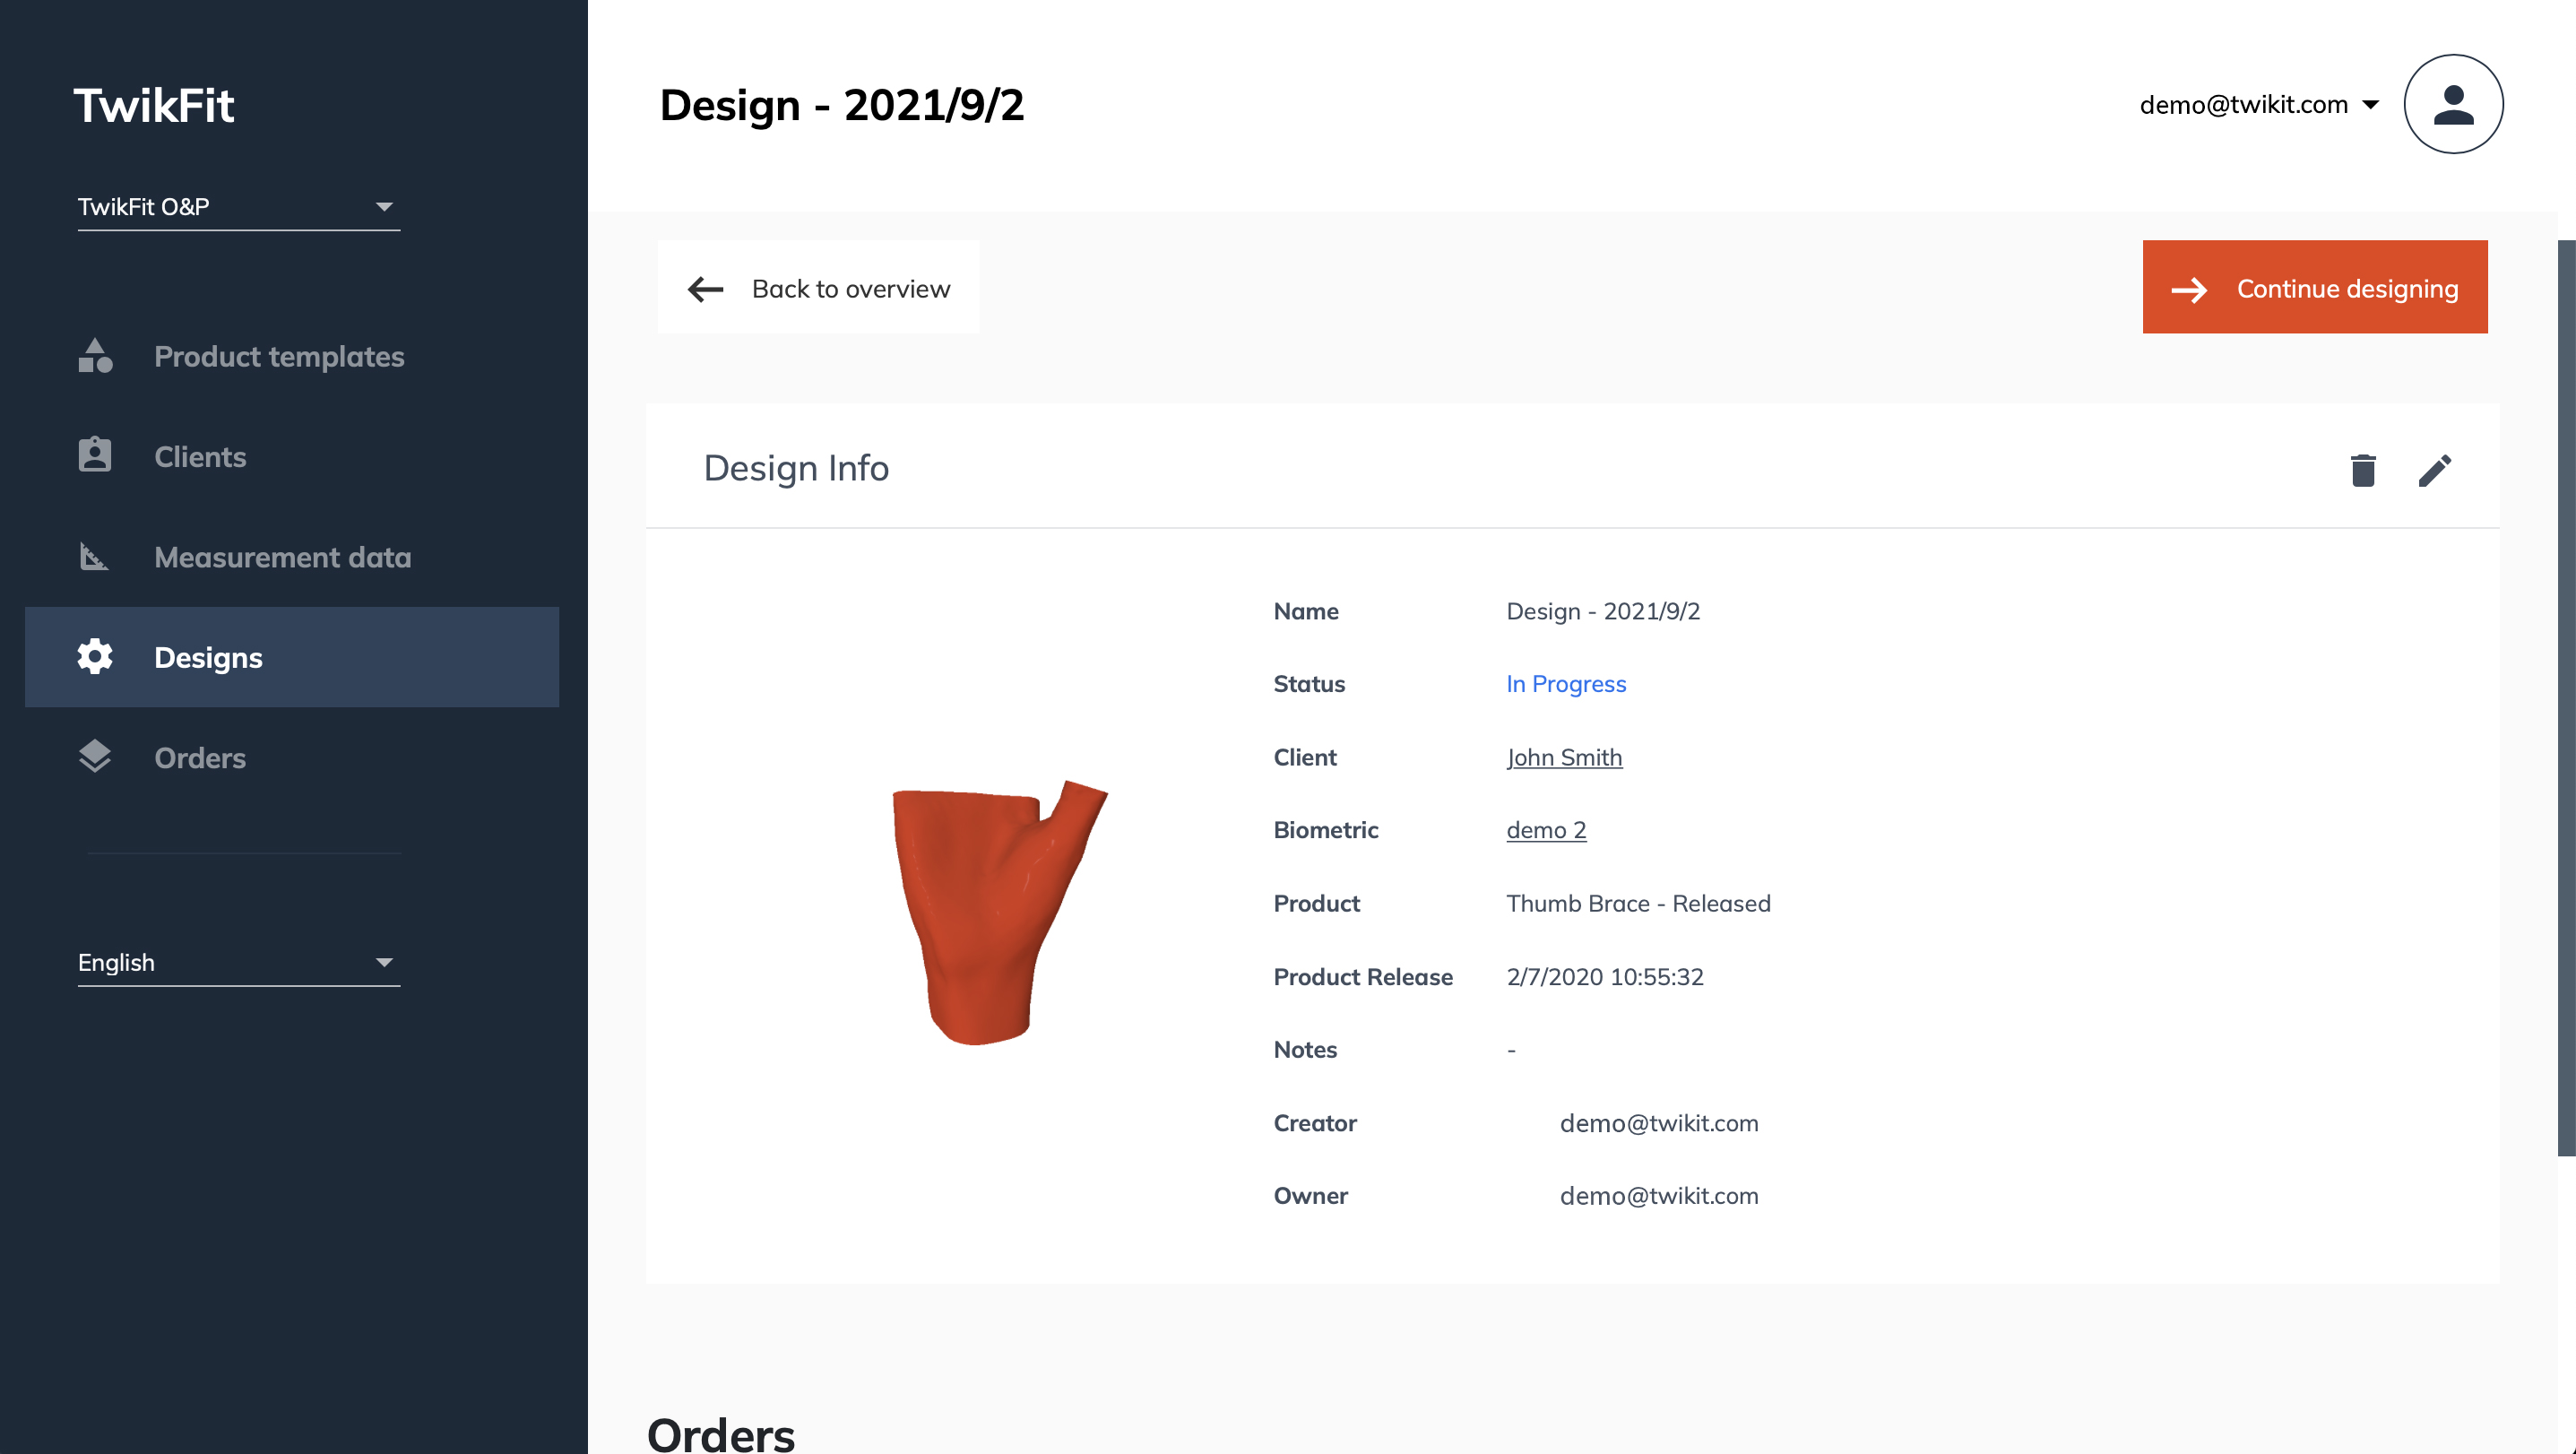
To view the details of a certain design, click on the creation date. On this page, you can edit the Design info, view the orders made for this design, and continue designing by clicking the button in the right top corner.
Orders page
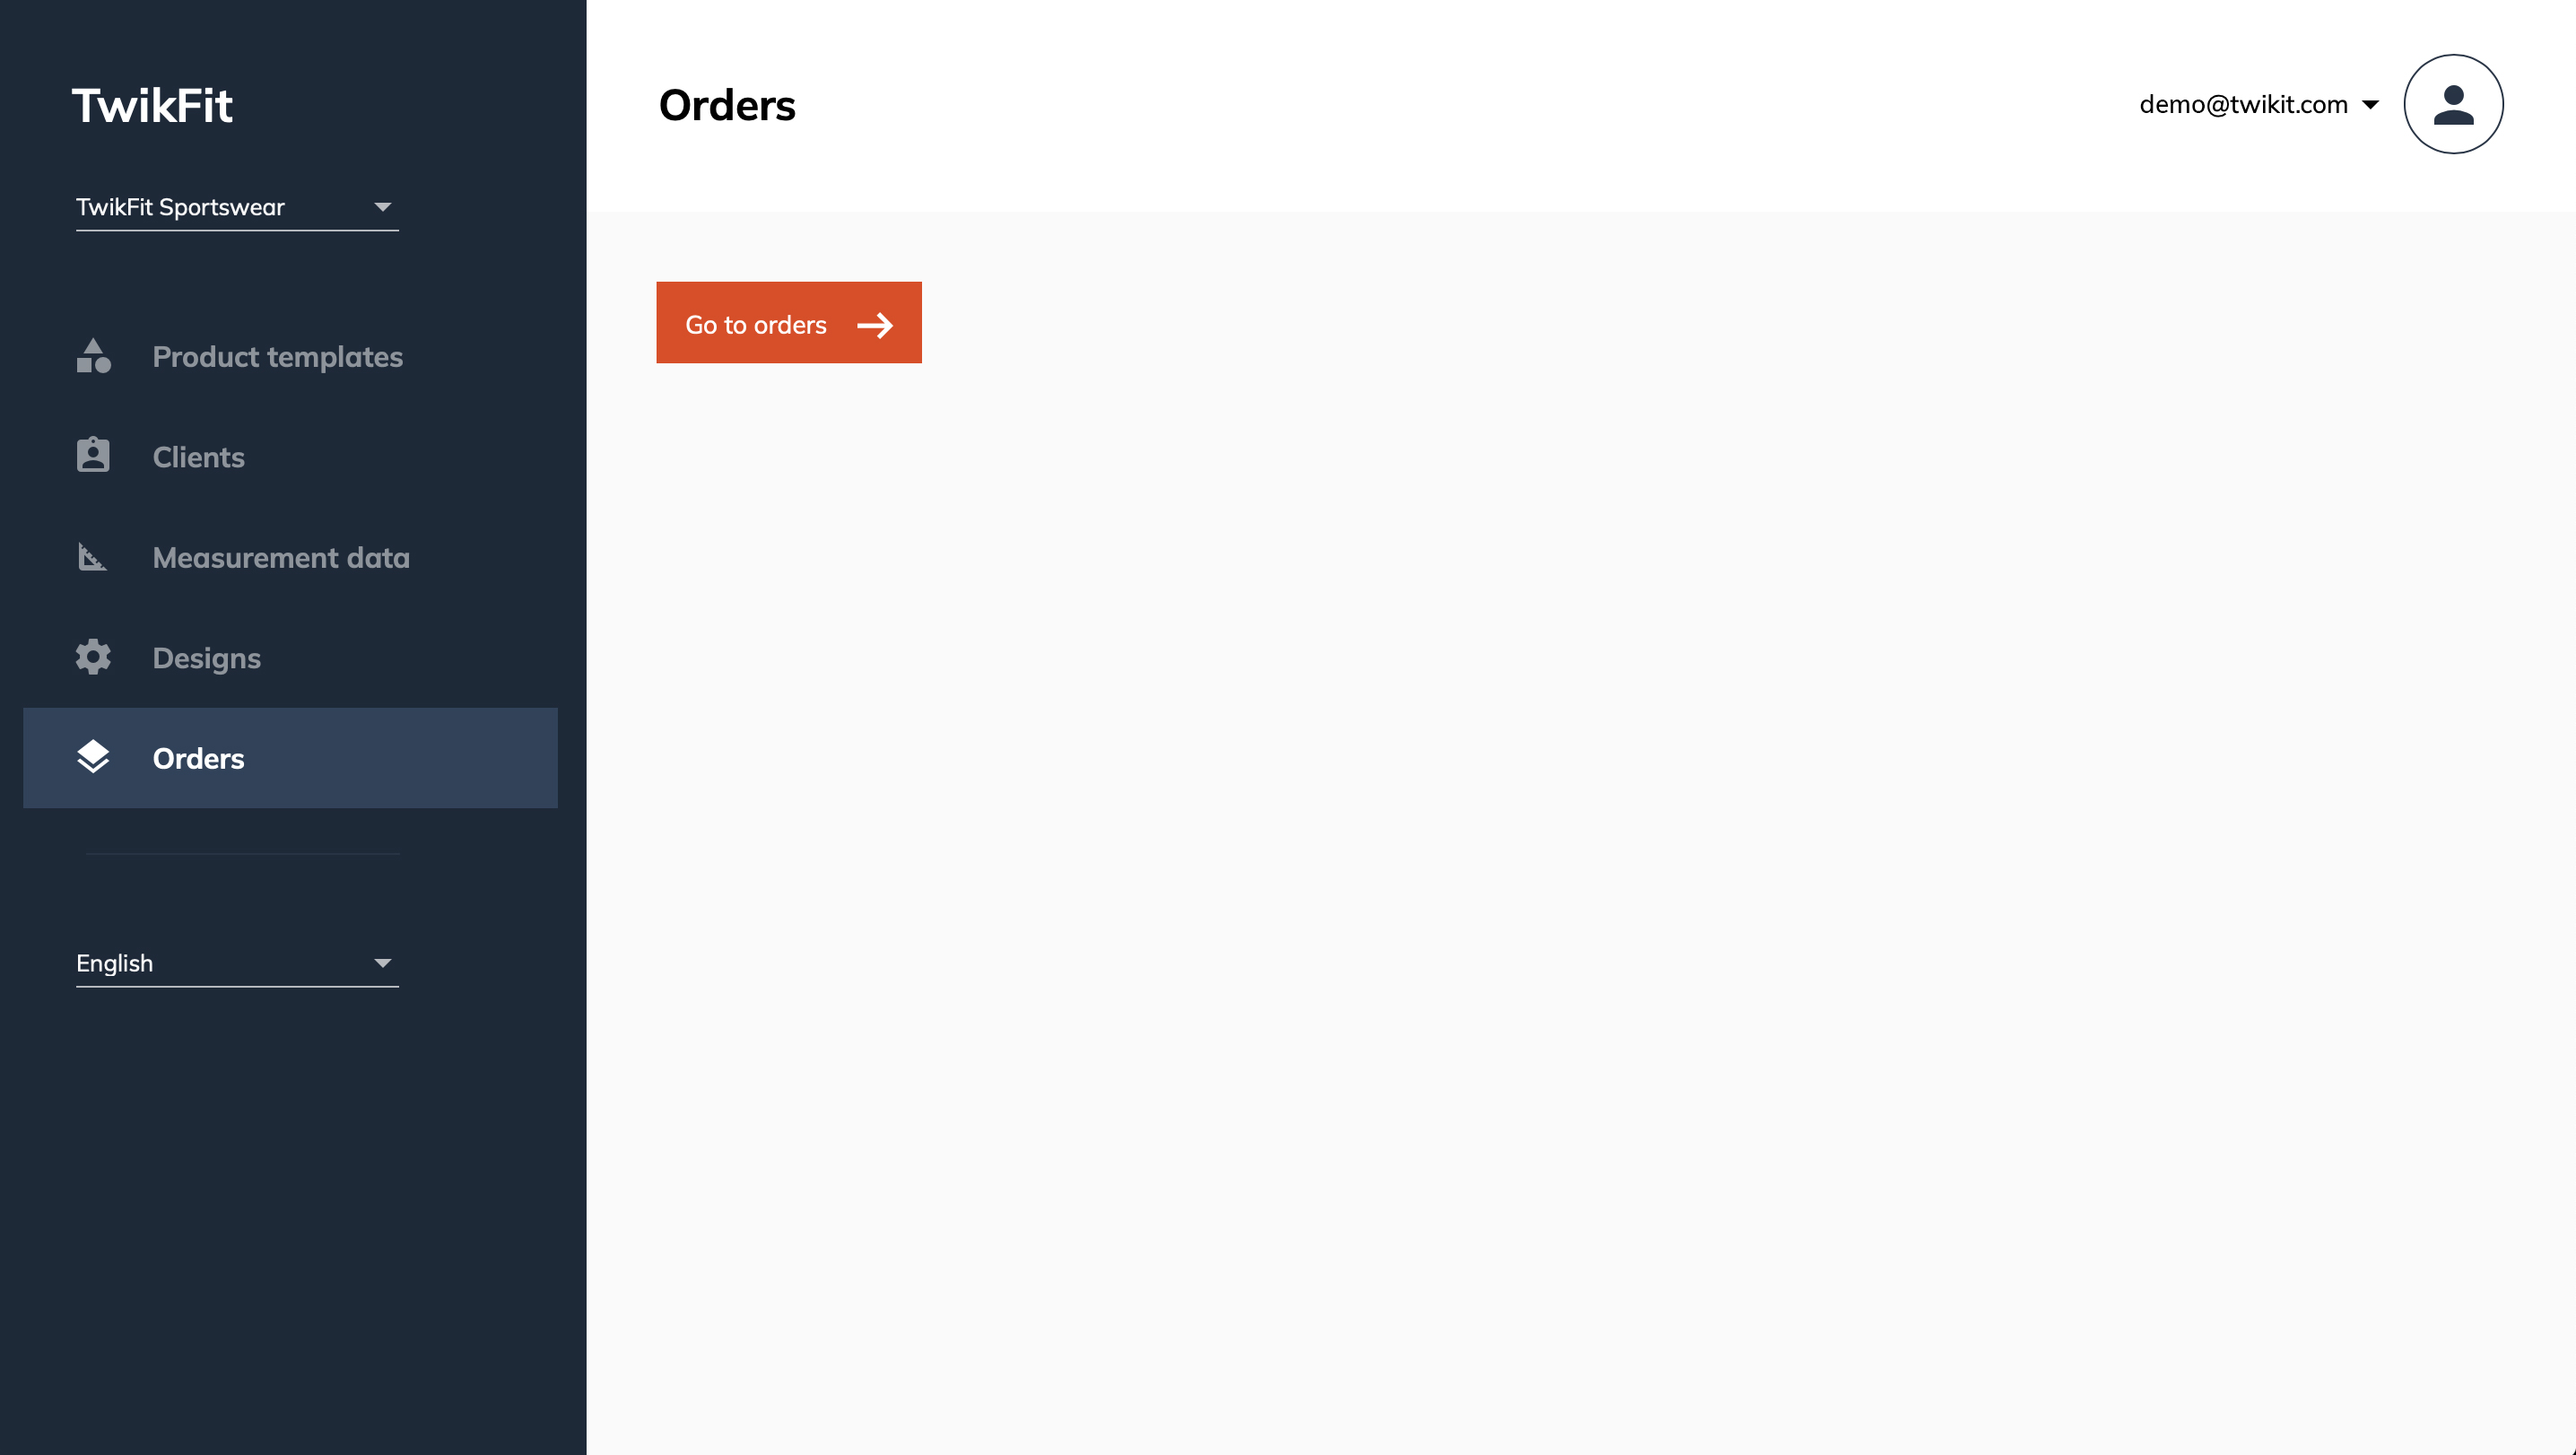
The last page in the right-side menu is the Orders page. This page offers a direct link to Twikit Live by clicking on the ‘Go to orders’ button. Live is the supporting application that enables the digital manufacturing of unique products at scale. It allows you to create, track, and manage unique orders for digital production. Click here for more information.
User avatar
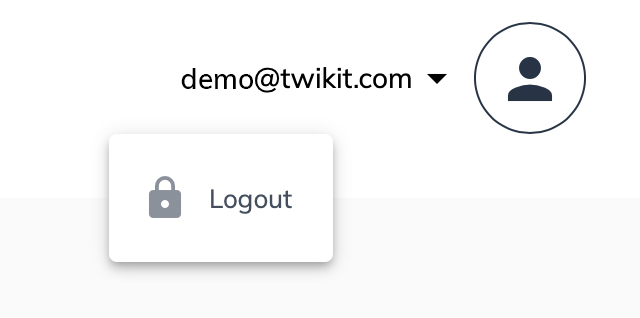
The user avatar on the right side of the navigation bar can be used to log out.
Start design flow
As mentioned, you can start a design flow on the Product templates page and Designs page. We will show how to start a design flow via the Product templates page.
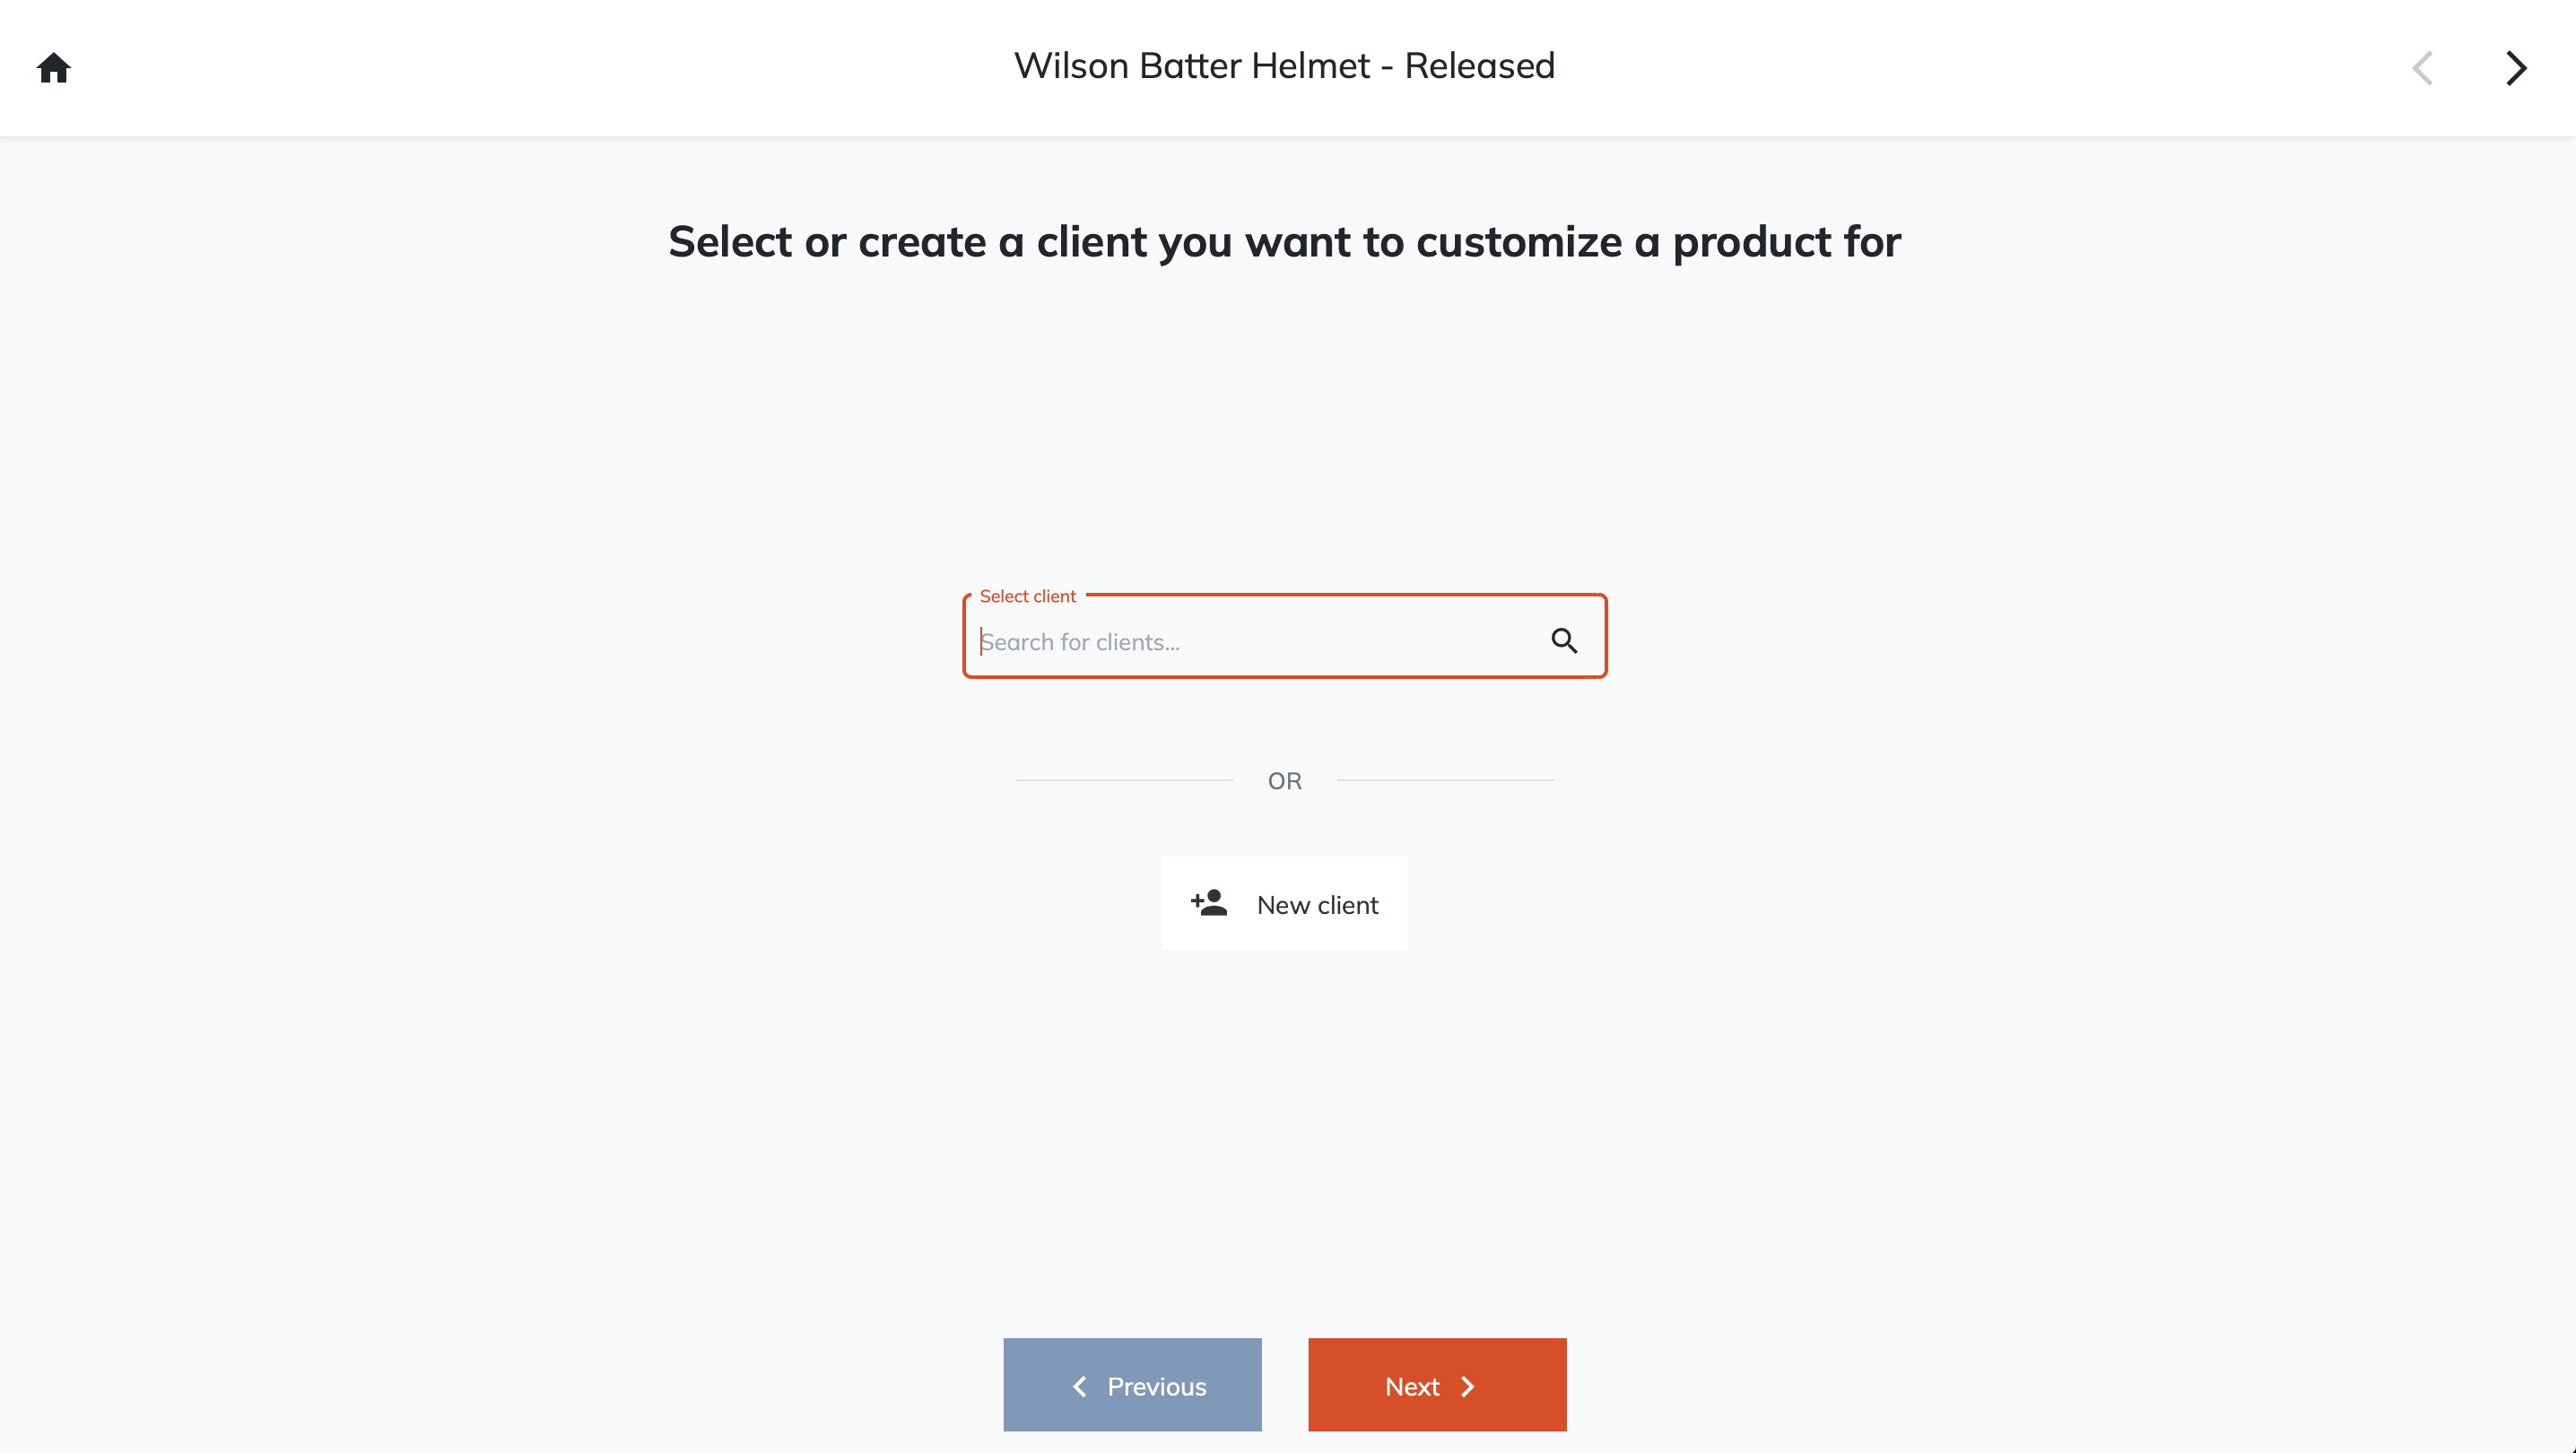
First, select a product template for the product you want to design and then click the ‘Start design flow’ button. Then complete the following steps:
Select or create a client
Select a product
Select or create measurement data
To exit this page, you can click the house symbol in the top left corner to return to the Product template page.
When completed the steps mentioned above, you can start creating your design.